How can I add multiple pages?
You can add 6 additional webpages to your Solo website. Each page can be customized with sections (Free and Pro plans allow up to 3 sections per page; the Grow plan allows up to 25 sections per page). Each page can also have its own SEO settings, allowing you to set a unique page title and description for search engines.
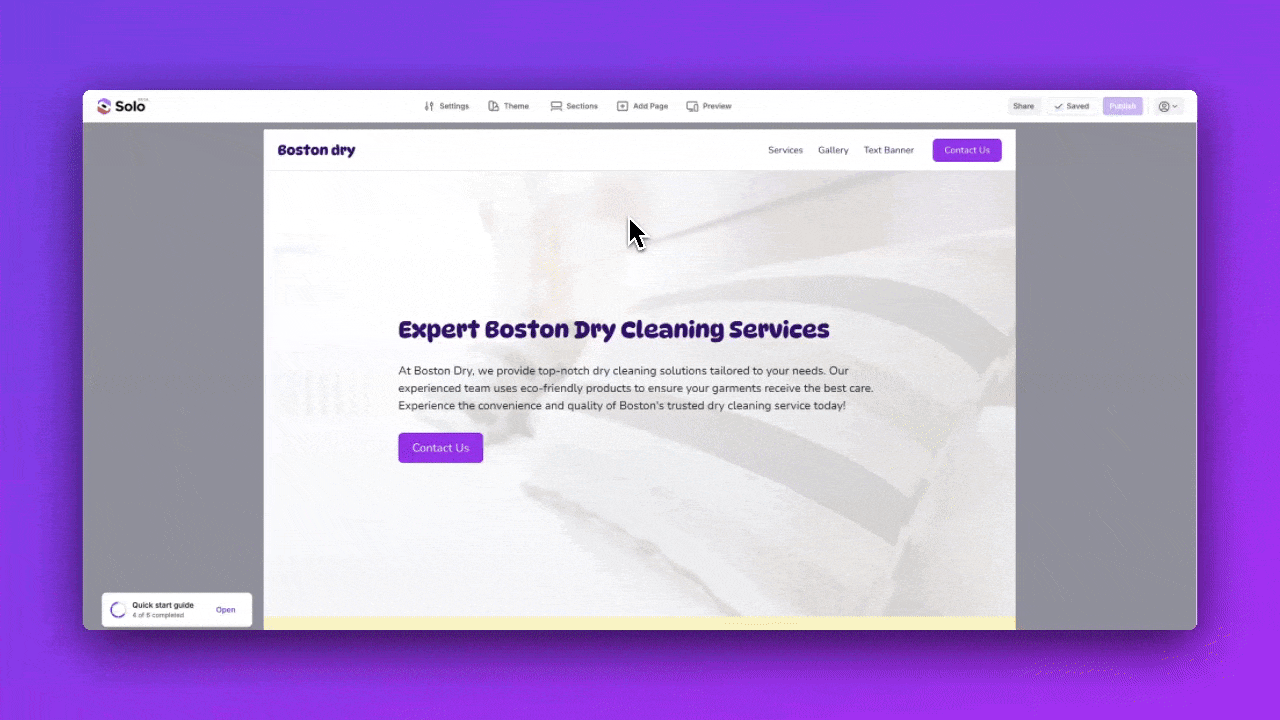
To add a page to your Solo website:
- Visit the designer
- In the top toolbar, click
Add Page - In the Add page pop-up window, click a section type for your new page. You can add more sections to that page later.
- Type in your page name. Note this will be used for both: a) the address to that page and b) the link name added to your header
- Click
Add Page - You should now see the page toolbar with tabs for each of your pages.
- To modify the sections or content on that page, you can click on the page name on the page toolbar to navigate to that page
- To edit your page name or page address you can click the
Pencil iconnext to the page name in the page toolbar. From here, you can also delete your page. - When completed, click
Publishto see your new multi-page website
You can visit the new page from soloist.ai/YourWebsiteName/PageName or if you have a custom domain connected, from YourCustomDomain.com/PageName.
Note: Any options customized in Settings applies to all of your pages.
How to delete a page?
- In the page toolbar, click the pencil icon next to the page name
- In the Page settings modal, click
Delete Pageto delete that page
Note, Solo does not auto-save or provide undo functionality, so please copy your text or other changes elsewhere if you need them, before deleting your page.
Related Articles
Related Articles
Still have a question? Post to our Reddit group or email the team.