How do I add or move sections?
You can modify sections on your Solo website by following the steps below:
Solo provides a variety of section types that you can add, reorder/move, or delete from your website.
Note: On the Free and Pro plans, you can add up to 3 sections of each type per page. On the Grow plan, you can add up to 25 sections of each type per page. For example, you can add 3 Services sections to Page 1 and 3 more Services sections to Page 2.
-
Visit the Designer
-
In the top toolbar, click
Sections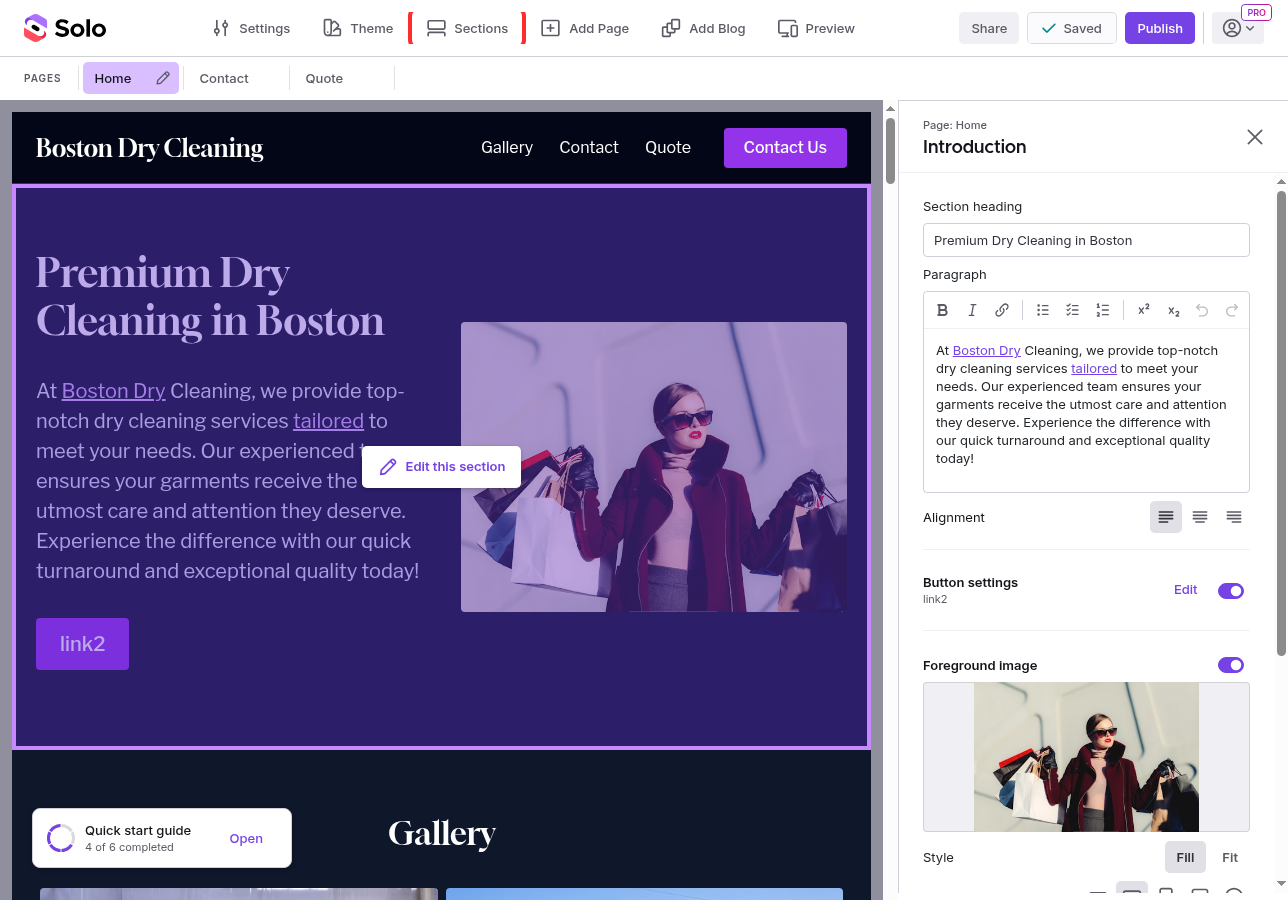
-
If you have created multiple pages, confirm that you are on the correct page you want to edit by checking the page name shown in the Sections sidebar and the purple-highlighted page name in the page toolbar.
-
In the Sections sidebar, you will now see a list of sections for your website.
-
To add a new section: click
Add sectionat the bottom of the sidebar.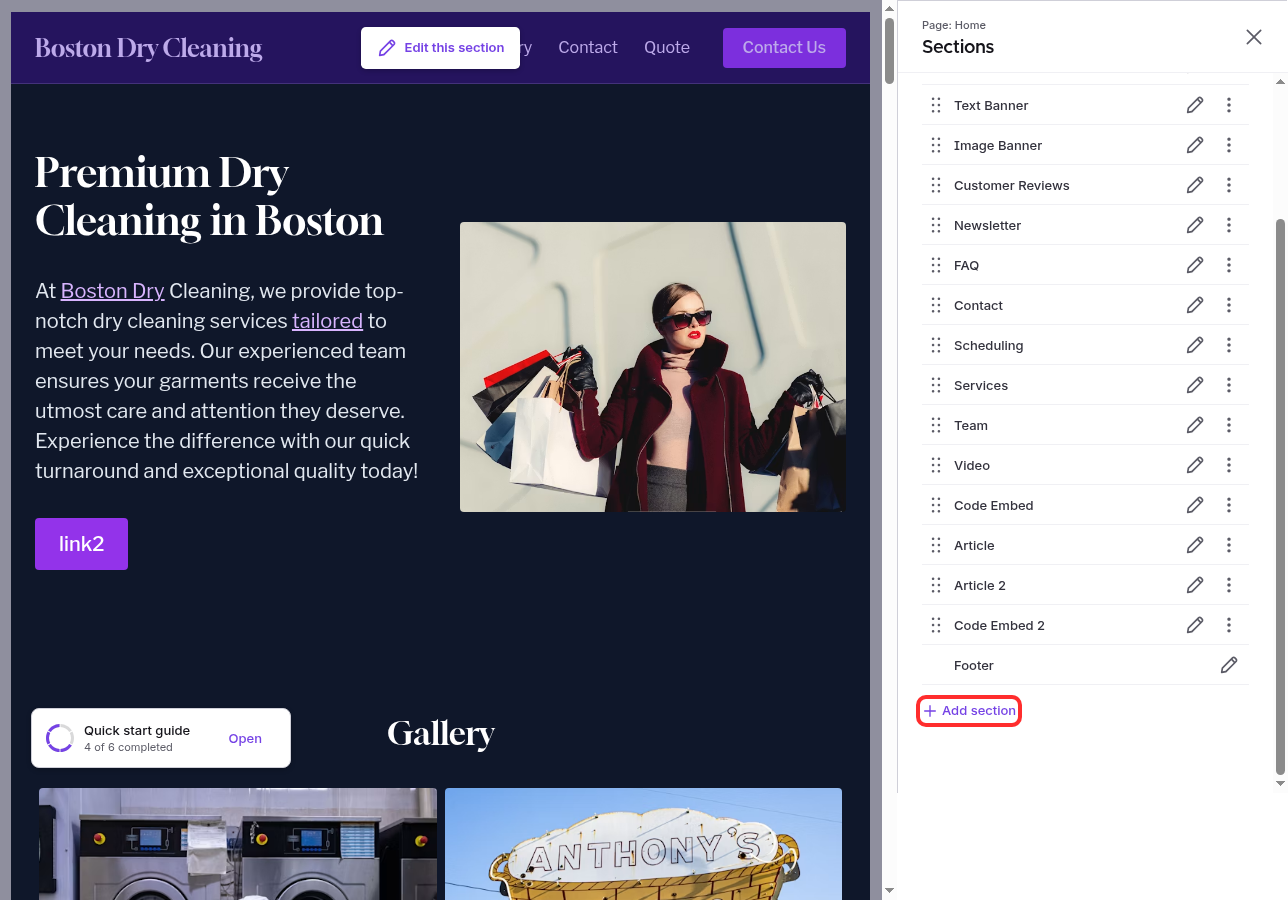
-
To delete a section: click the
⋯(more options) button next to the section, then selectDeletefrom the dropdown menu.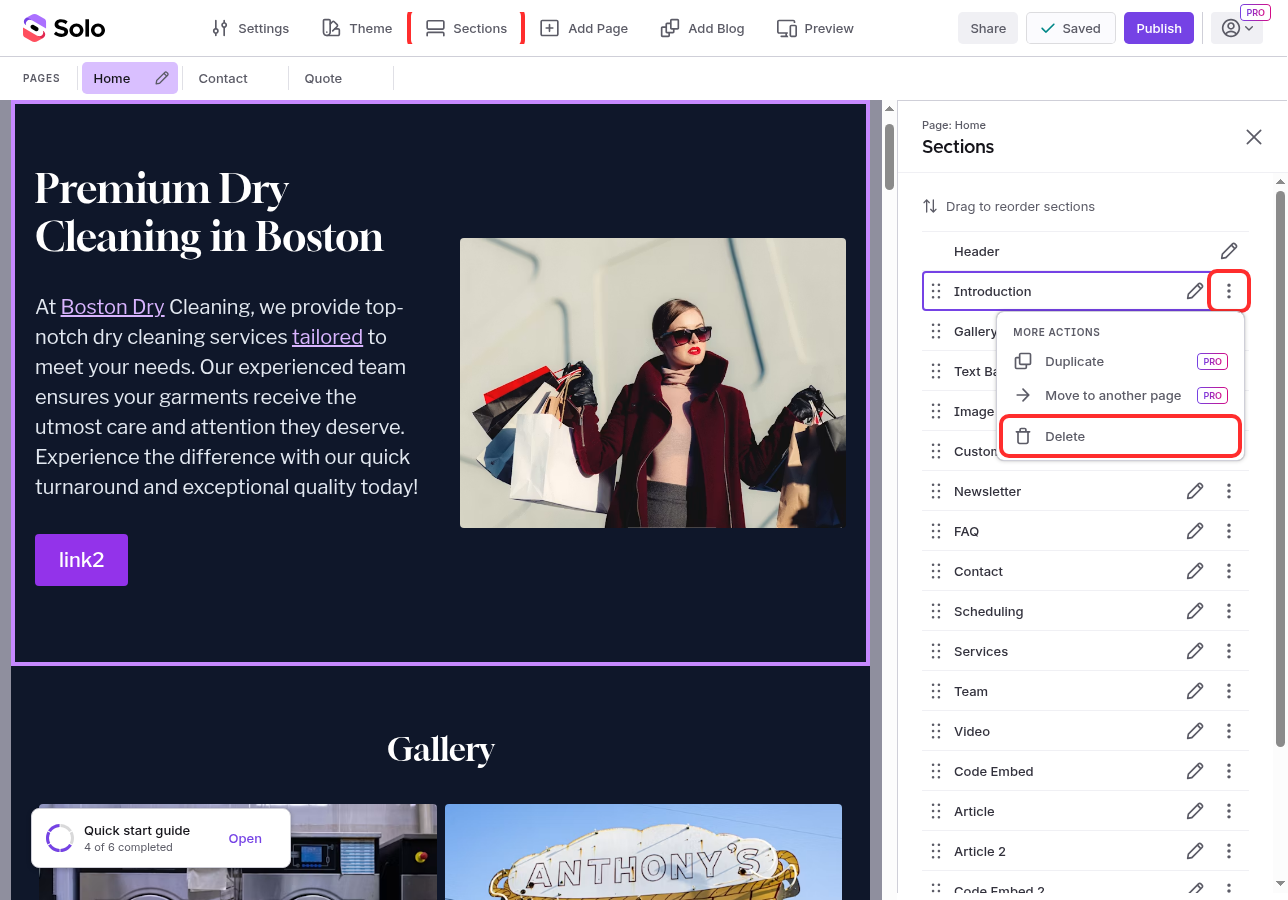
-
To reorder a section: click and drag the
≡drag handle on the left side of a section row, then drop it above or below another section.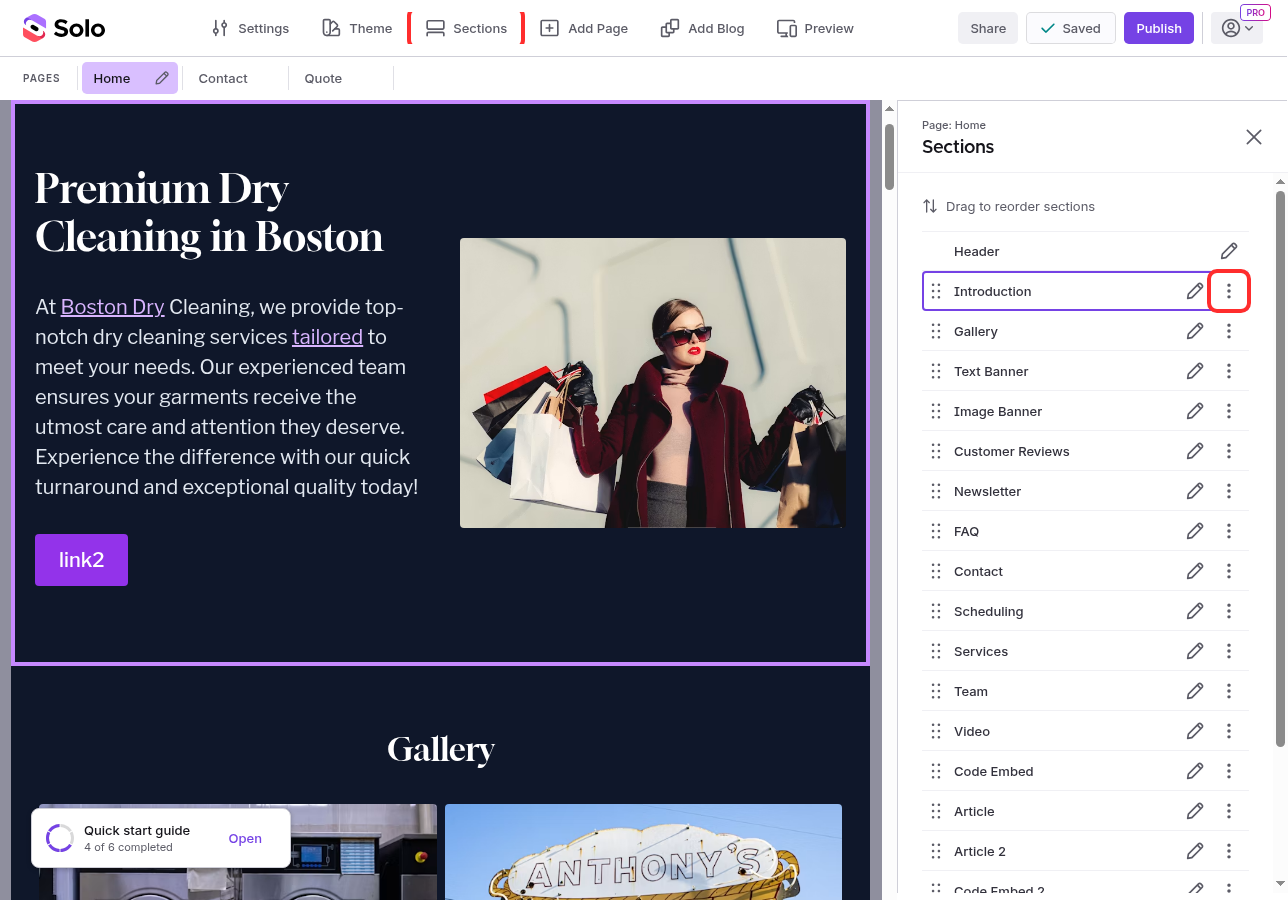
-
Pro tip (Pro plan and above): the
⋯options menu also lets youDuplicatea section orMove to another page.
-
Related Articles
Still have a question? Post to our Reddit group or email the team.