How can I add a blog to my website?
You can add a blog to your Solo website by following the steps below:
-
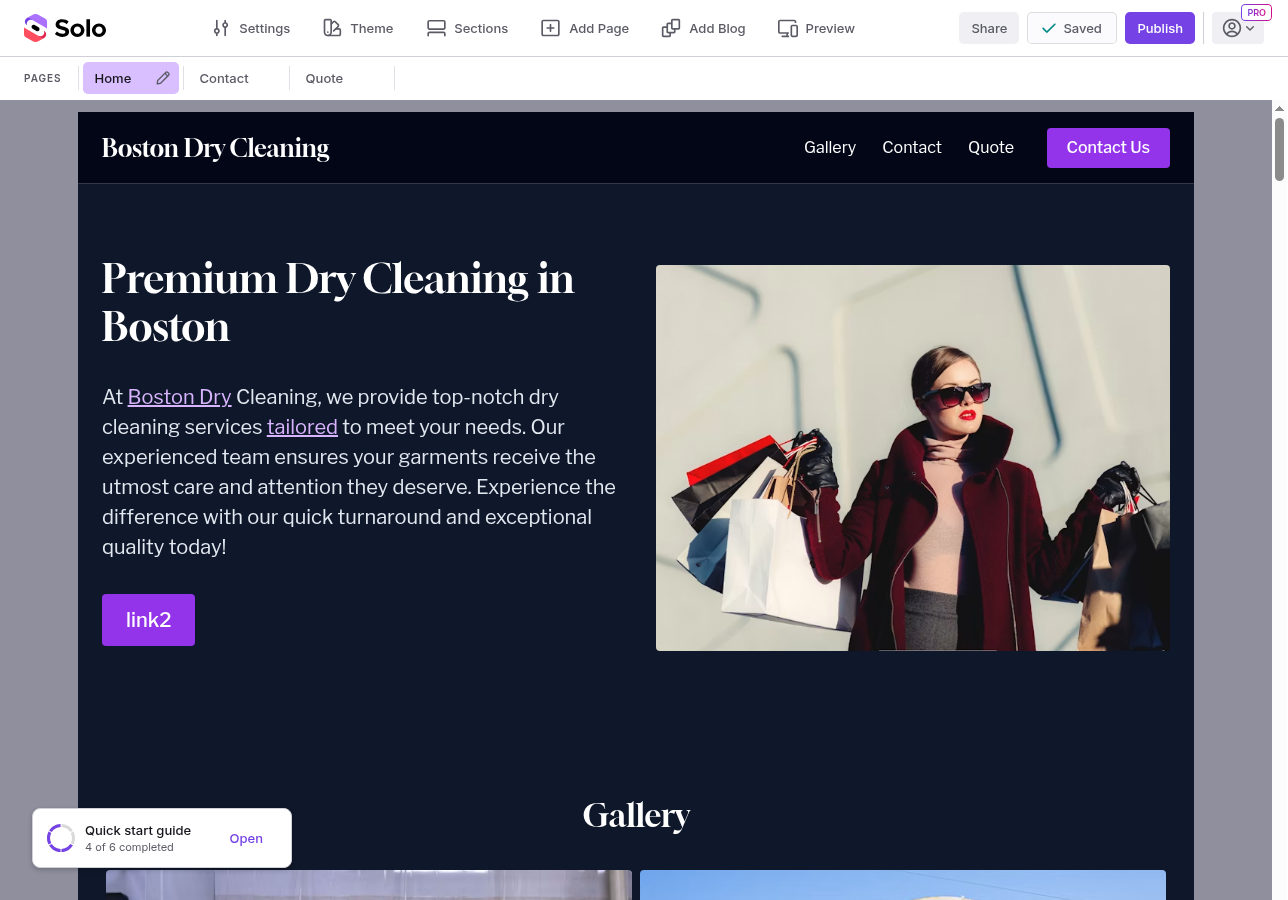
Visit the designer
-
Click the
Add Blogbutton at the top of the page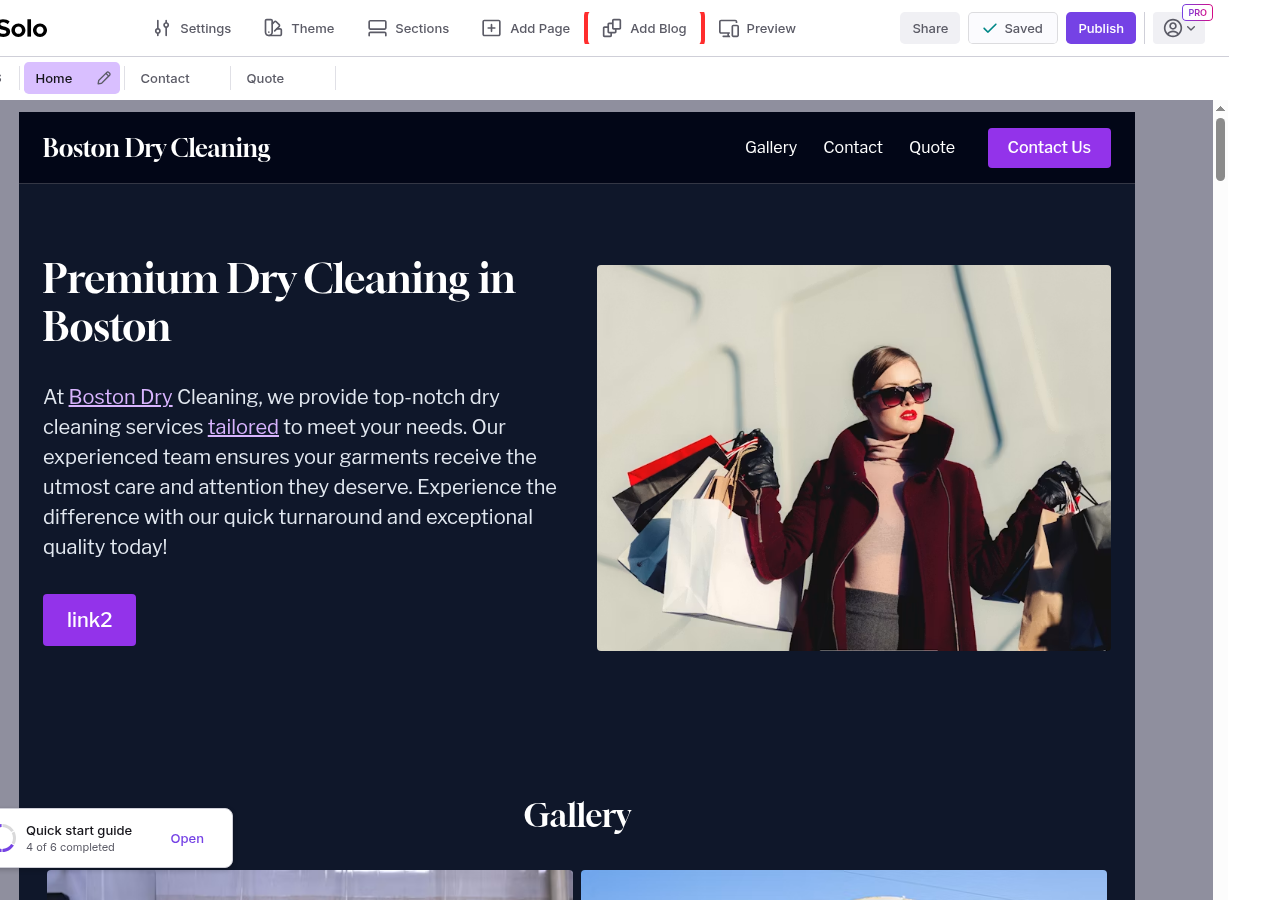
-
In the modal that appears, click
Create Blog
-
Solo will automatically create your blog with 3 sample posts, styled to match your website's theme and fonts

-
A
Blogtab will appear in the designer alongside yourHometab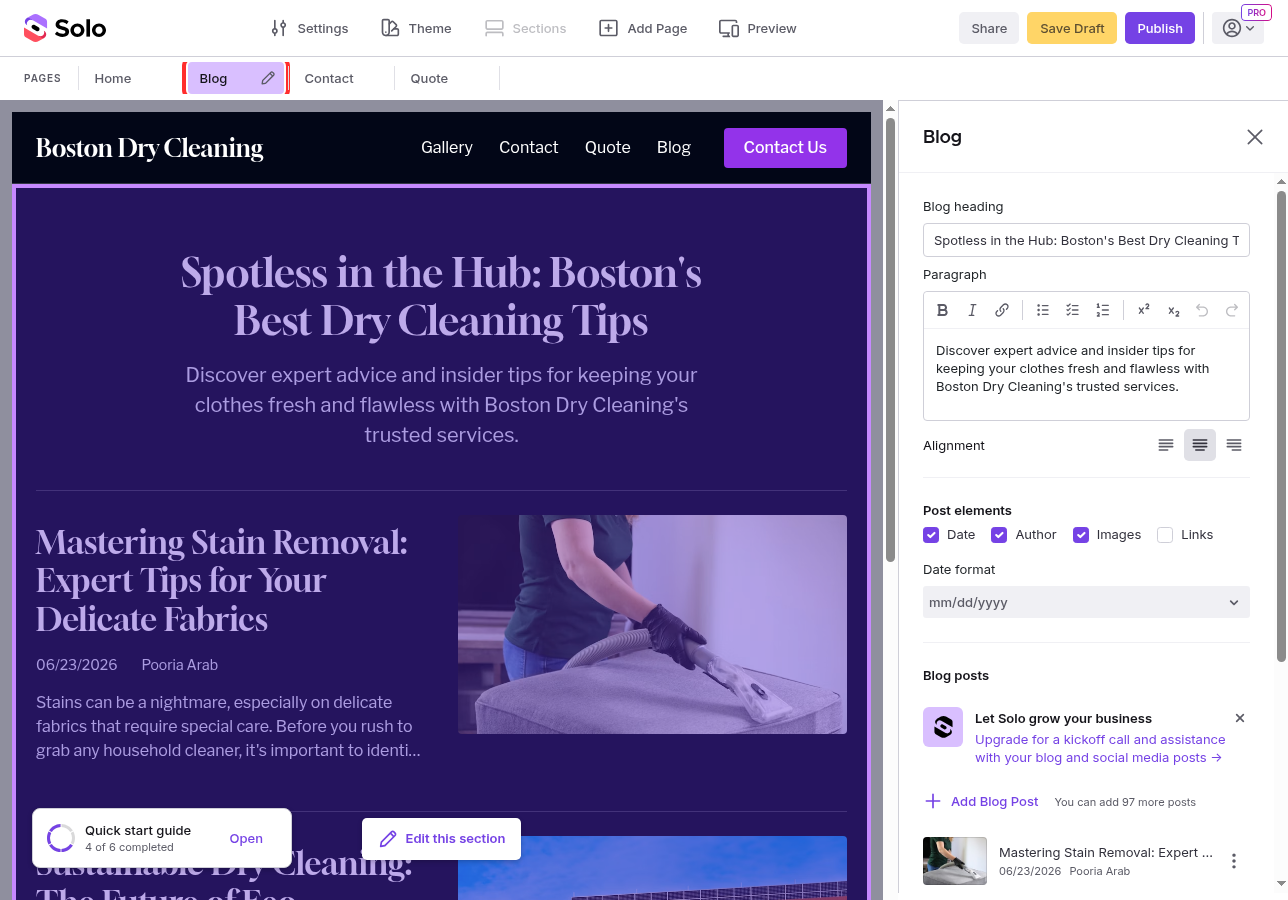
Note: Solo automatically adds a navigation link to your header when you create a blog.
Customizing your blog
Once your blog is created, you can edit it using the blog right sidebar. From here you can update the Blog heading and Paragraph (the description shown at the top of your blog page), toggle Post elements like Date, Author, Images, and Links, choose a Date format, and update the Blog feed color using your website's theme colors.
Adding and editing blog posts
-
In the blog right sidebar, click
+ Add Blog Post
-
In the Edit blog post modal, fill in the post title, author name, main image, and body text
-
Click
Doneto save the post
You can edit any existing post by clicking on it in the sidebar. To duplicate or delete a post, click the menu icon next to the post.
Note: Free accounts can create up to 10 blog posts. Pro and Grow accounts can create up to 100 blog posts.
Publishing your blog
When you're ready, click Publish to make your blog live. Any changes to your blog or posts won't appear on your site until you publish.
Deleting your blog
To remove the blog entirely, scroll to the bottom of the blog right sidebar and click Delete Blog.
Related Articles
Still have a question? Post to our Reddit group or email the team.