How do I connect a custom domain to my website?
A custom domain is a personalized address for your business such as www [dot] my-cool-website [dot] com. Generally, websites with custom domains receive more traffic, get more leads, and customers. If you do not have a custom domain, you can purchase one from vendors (e.g. IONOS, GoDaddy or Namecheap).
The number of custom domains you can connect depends on your plan. See pricing for details.
Both website owners and editors can connect custom domains.
To connect your custom domain for free to your Solo website, we offer an automatic and manual method.
Connect your domain - automatic method
Please follow the steps below:
- Visit the designer
- In the top toolbar, click Settings
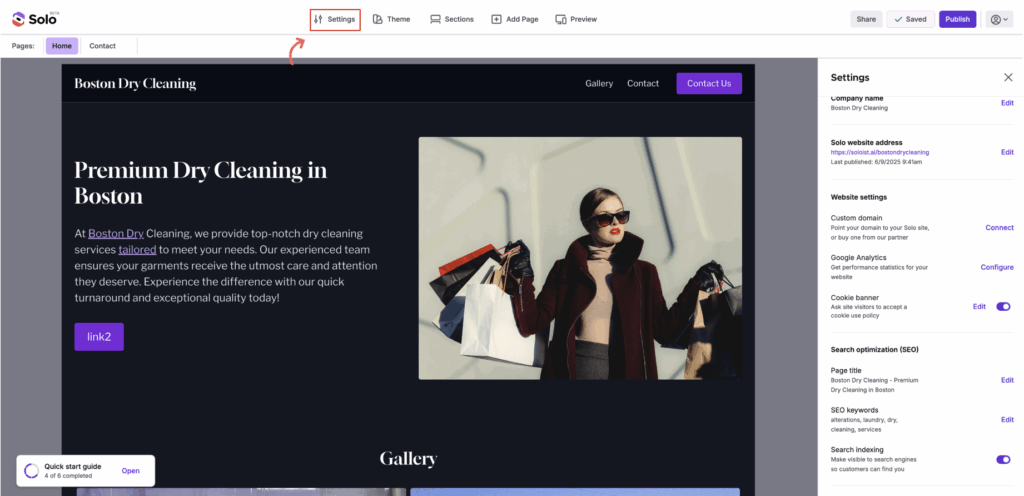
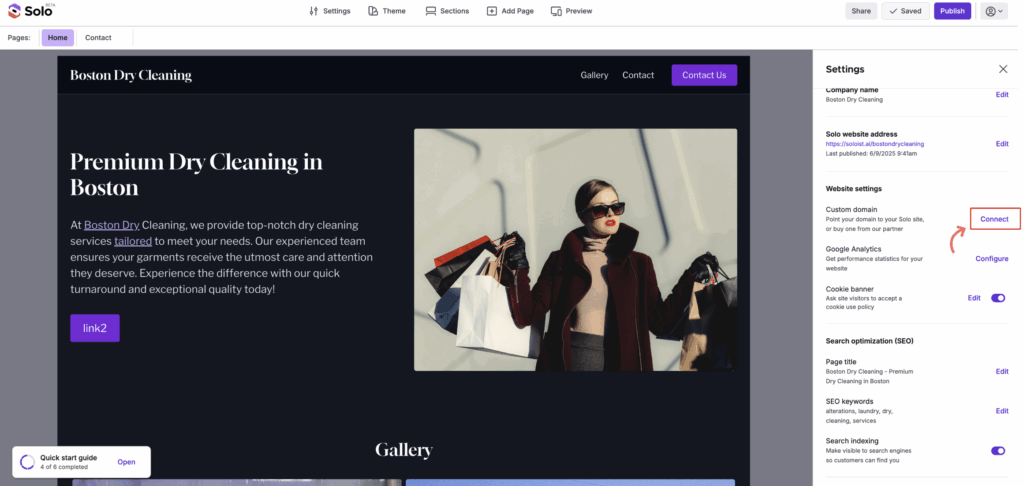
- In the Settings right sidebar, next to Custom domain, click Connect
-
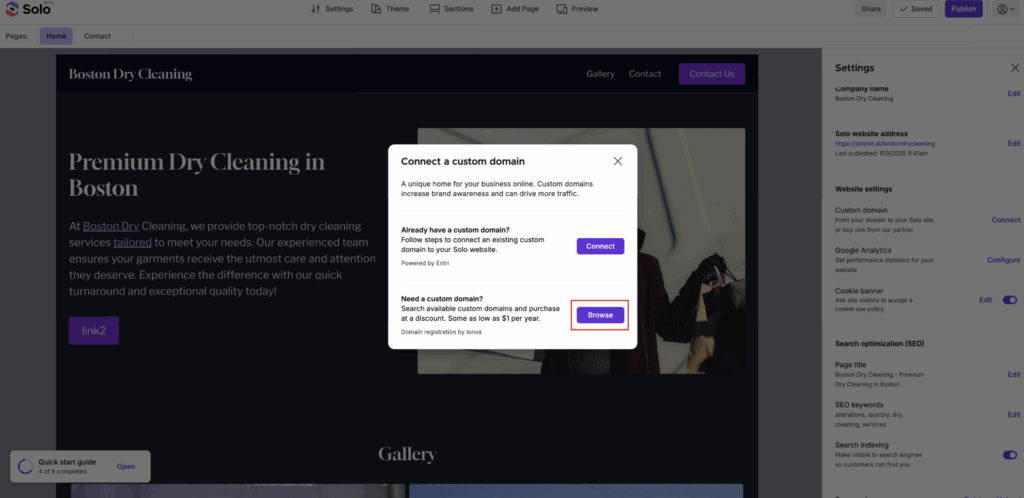
A modal will appear. Note, if you have not yet published your Solo website with a Solo handle (eg https://soloist.ai/YourWebsiteName), you will be asked to do this first. Once this is completed, you can then proceed to connect your custom domain so your website can be visited by that custom domain address.
- If you already have a custom domain, click Connect.
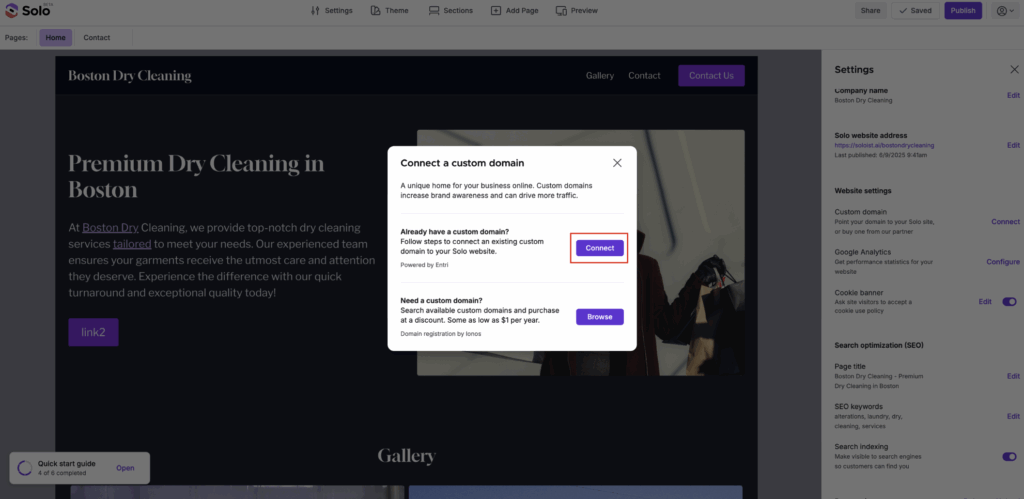
- If you do not have a custom domain or want to purchase a new one, click Browse to see domains offered by our partner IONOS, several offered at a significant discount.
-
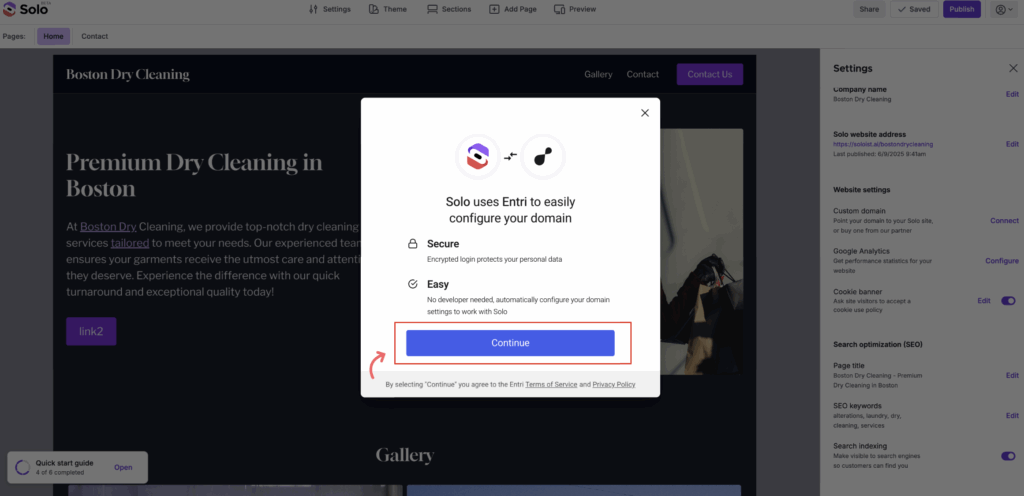
Click Continue
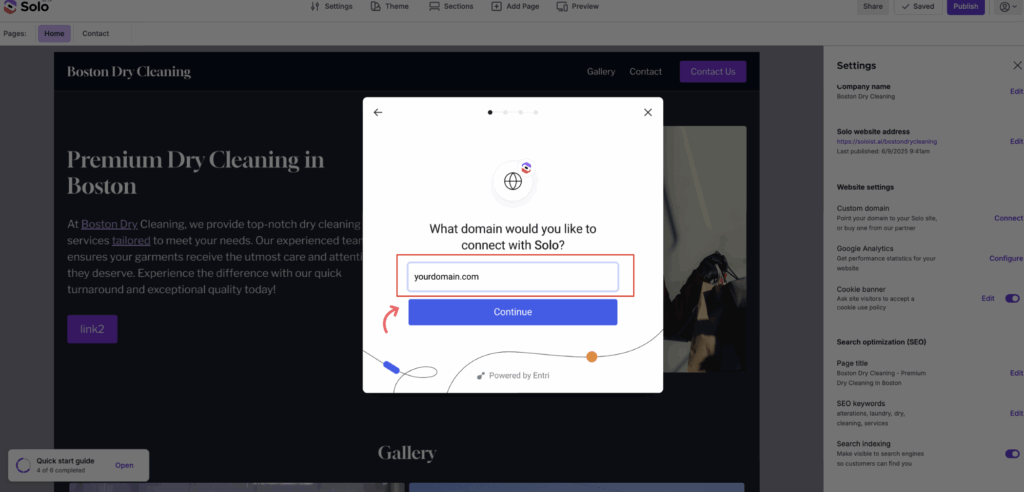
- Type in your domain name (e.g. yourdomain.com), then click Continue
-
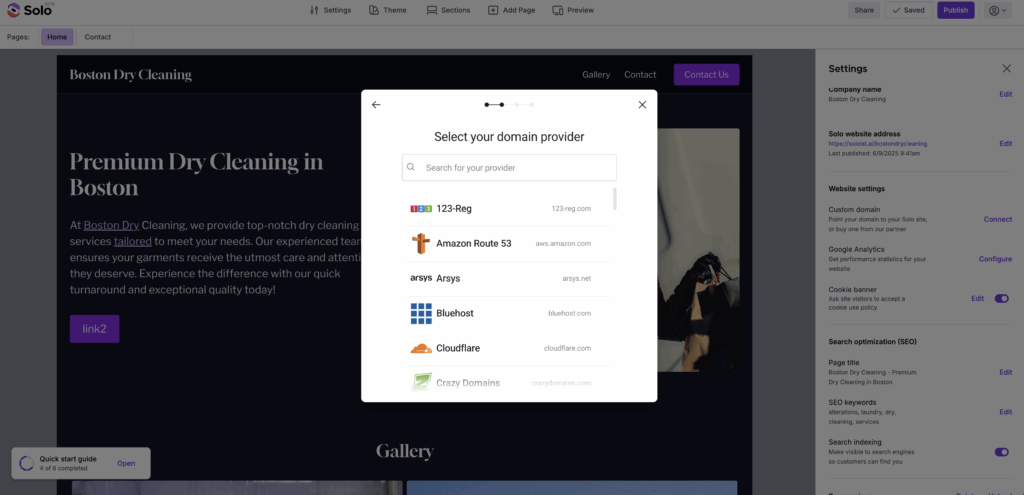
Solo will now attempt to identify your DNS provider (e.g. GoDaddy, Namecheap)
- If Solo is able to detect the DNS provider for your domain, you will be presented with a screen to log into your DNS provider, so we can setup your DNS records automatically
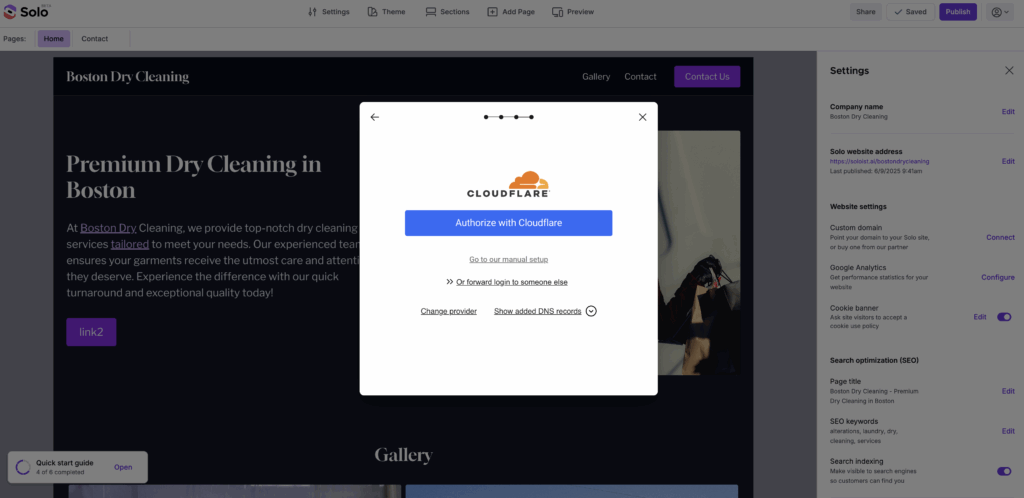
Note: In the image above, the example domain was registered/managed at Cloudflare. You may see a different DNS provider (e.g. GoDaddy, IONOS...).
- If we are unable to detect your DNS provider, scroll the list to find and click on your DNS provider. If you do not see your DNS provider in the list, click the Go to our manual setup option at the bottom of the list and scroll to the instructions below in this article where we detail the steps for the "manual method."
-
After logging-into your DNS provider, you can click Continue. Solo will automatically add the DNS records to point your custom domain to your Solo website.
-
You will see a success message. Click Ok. You will return to Solo and in the sidebar, you will see that Solo has begun the connection process.
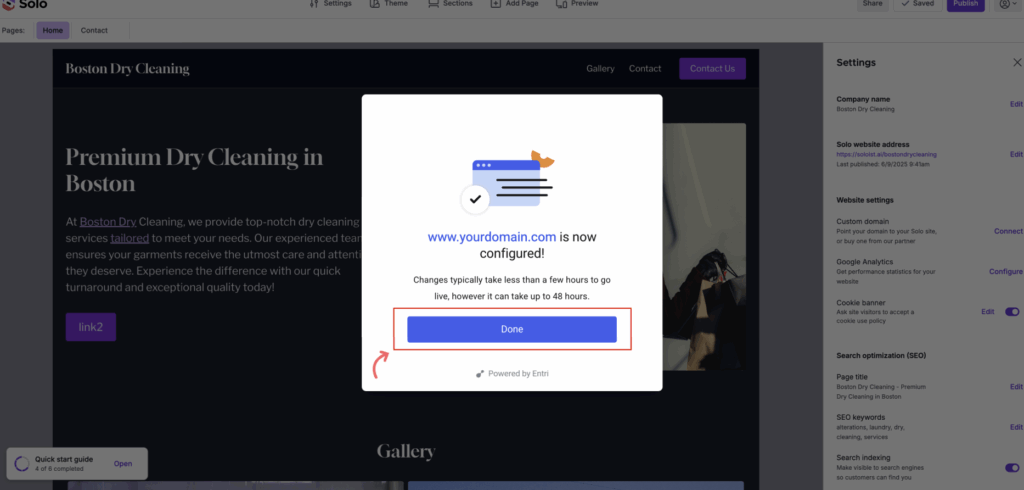
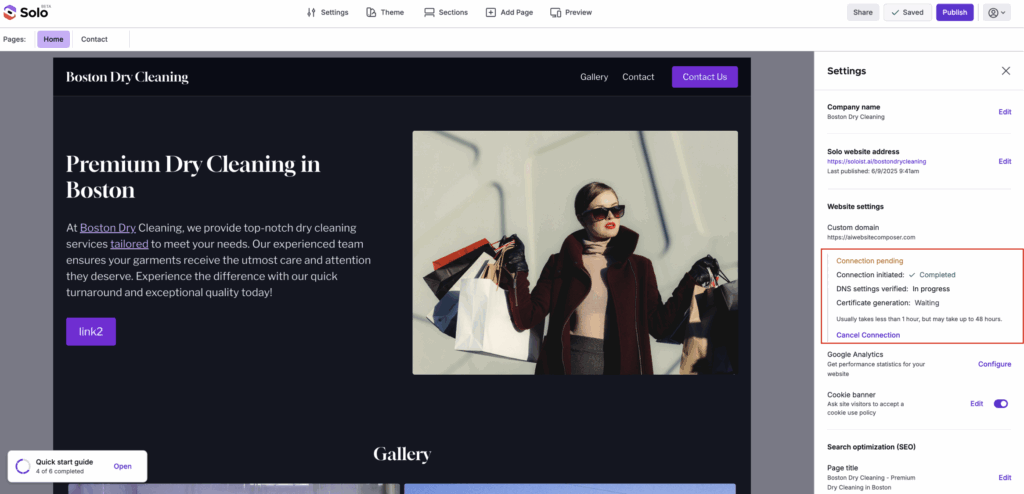
- The connection process may take up to 48 hours to complete but often faster.
Note: If after 48 hours or sooner, the custom domain connection was unsuccessful (where you observe the message Connection not established in the custom domain area in Settings right sidebar), you can try again by clicking Re-Configure or alternatively re-try via the manual method below. If you need help from a more technical friend, you can invite them to edit your website so they can set up your custom domain.
You can continue to access your website at your soloist.ai/handle or the custom domain you just connected.
Note: When connecting your domain via the manual method, as mentioned above, please delete any pre-existing A or AAAA or CAA records as they may conflict with Solo. We will attempt to do this for you in the automatic connection process but we do not do this in the manual method. We also suggest after a few hours, if the connection has not completed, that you verify your DNS records using the Google DIG tool. At that website, enter your custom domain (eg mydomain.com) and click the "A" tab and the "TXT" tab. Confirm that the DNS records shown match what Solo expects. Read more here.
If you have additional difficulty with the custom domain connection process, some common troubleshooting steps are provided here.
If you still have issues, you can contact support@soloist.ai. Note, we do not have access to your DNS provider and cannot update or change your records for you. If you contact support, please provide your Solo website handle (e.g. soloist.ai/handle), the name of your custom domain and a screenshot of the custom domain connection status that appears in the Settings right sidebar. Please also make sure you've checked your domain with the Google DIG tool mentioned earlier and that the expected DNS records are being shown as Solo would expect. If not, we suggest contacting support at the DNS provider or domain registrar website.
Connect your domain - manual method
Please follow the steps below:
-
Visit the designer
-
In the top toolbar, click Settings
-
In the Settings right sidebar, next to Custom domain, click Connect
-
A modal will appear. If you already have a custom domain, click Connect. Note, if you do not have a custom domain or want to purchase a new one, click Browse to see domains offered at a significant discount.
-
Click Continue
-
Type in your domain name (e.g. yourdomain.com)
-
Solo will now attempt to identify your DNS provider (e.g. GoDaddy, Namecheap)
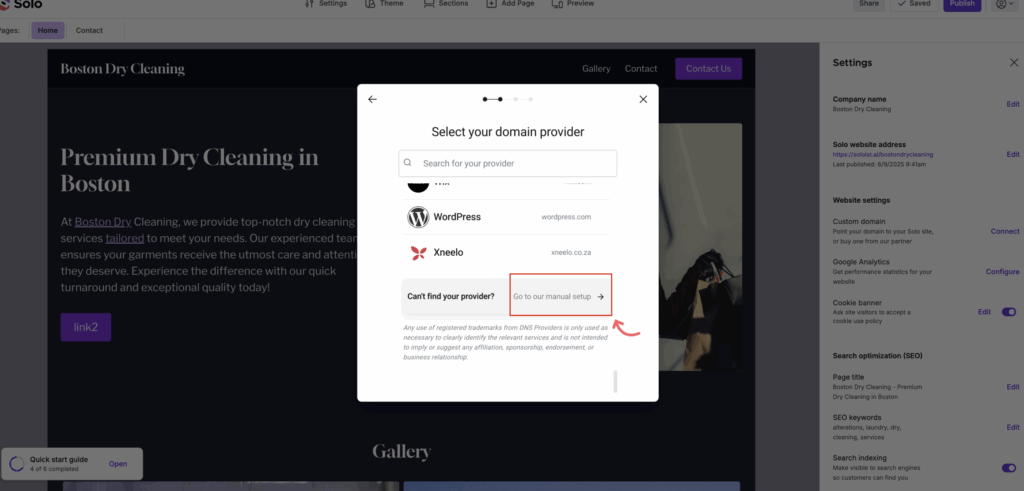
- If Solo is able to detect the DNS provider for your domain, you will be presented with a screen to log into your DNS provider, so we can setup your DNS records automatically. You will want to ignore this and click go to our manual setup under the blue Continue button. If you don't see this option, click the Back arrow, scroll to the bottom of the DNS provider list and click Go to our manual setup option.
- If we are unable to detect your DNS provider, scroll to the bottom of the list, click the Go to our manual setup option.
-
In another browser tab, you will want to visit the website for your DNS provider also known as a domain registrar. If you're not clear where this is, it is usually the place where you purchased your domain name. You will need to login to that website and visit the screen where you can manage the DNS records for your owned domain. If you're not able to find that screen, please contact support of the company that owns your domain name and they can usually assist.
-
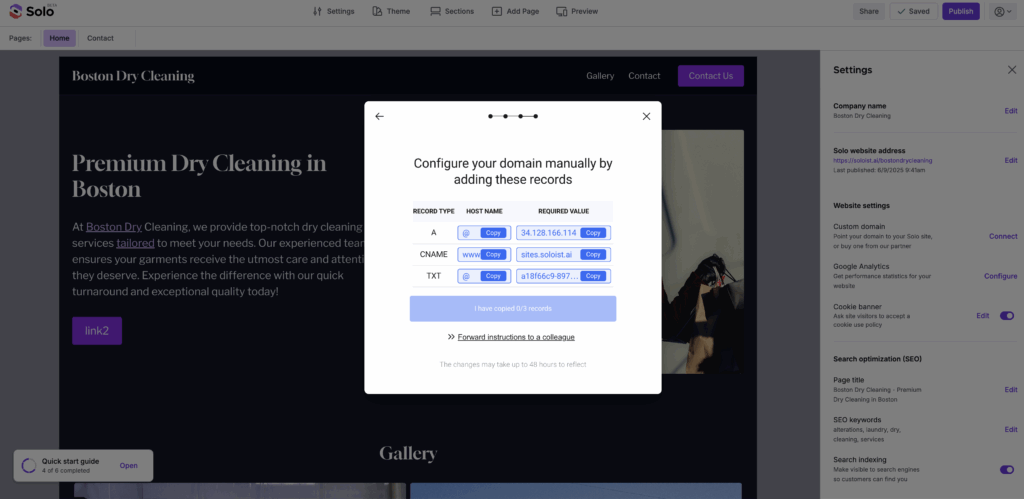
Now, go back to Solo and begin to copy the values for the A, CNAME, and TXT DNS records and paste into the DNS management screen at your DNS provider's website. You will want to enter each of these values into your DNS provider's screen exactly as shown. If you have any existing A records for your domain at the DNS management screen at your DNS provider's website, you will want to delete those as they may conflict with Solo.
-
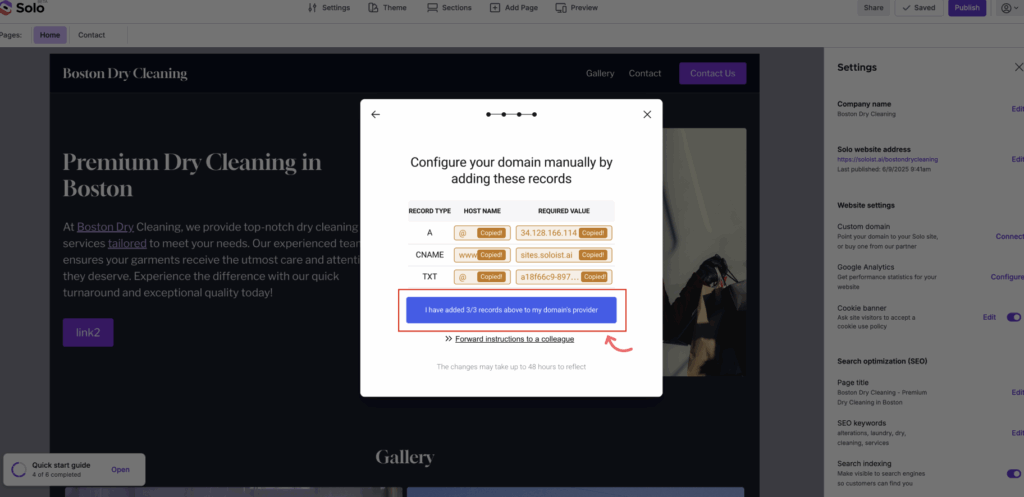
Once you are complete, click the I have copied 0/3 records in Solo. This button will become active after you have clicked Copy for each value.
- If you find this process difficult, we suggest inviting a colleague or tech buddy as an editor to your Solo website so they can connect the custom domain.
-
After you see a success message and click Ok. The connection process has begun.
-
See the Custom domain connection progress in the right sidebar and allow up to 48 hours for the connection to complete
Related Articles
Related Articles
Still have a question? Post to our Reddit group or email the team.