How do I connect Google Search Console?
Connecting Google Search Console lets you see how your site performs in Google search results. You'll need a custom domain connected to your Solo website first. If you haven't done that yet, see How do I connect a custom domain?
Step 1: Add your property in Google Search Console
- Go to Google Search Console and sign in with your Google account.
- Click Add property.
 3. Under "Domain", type your domain (e.g.
 yourdomain.com) and click Continue.
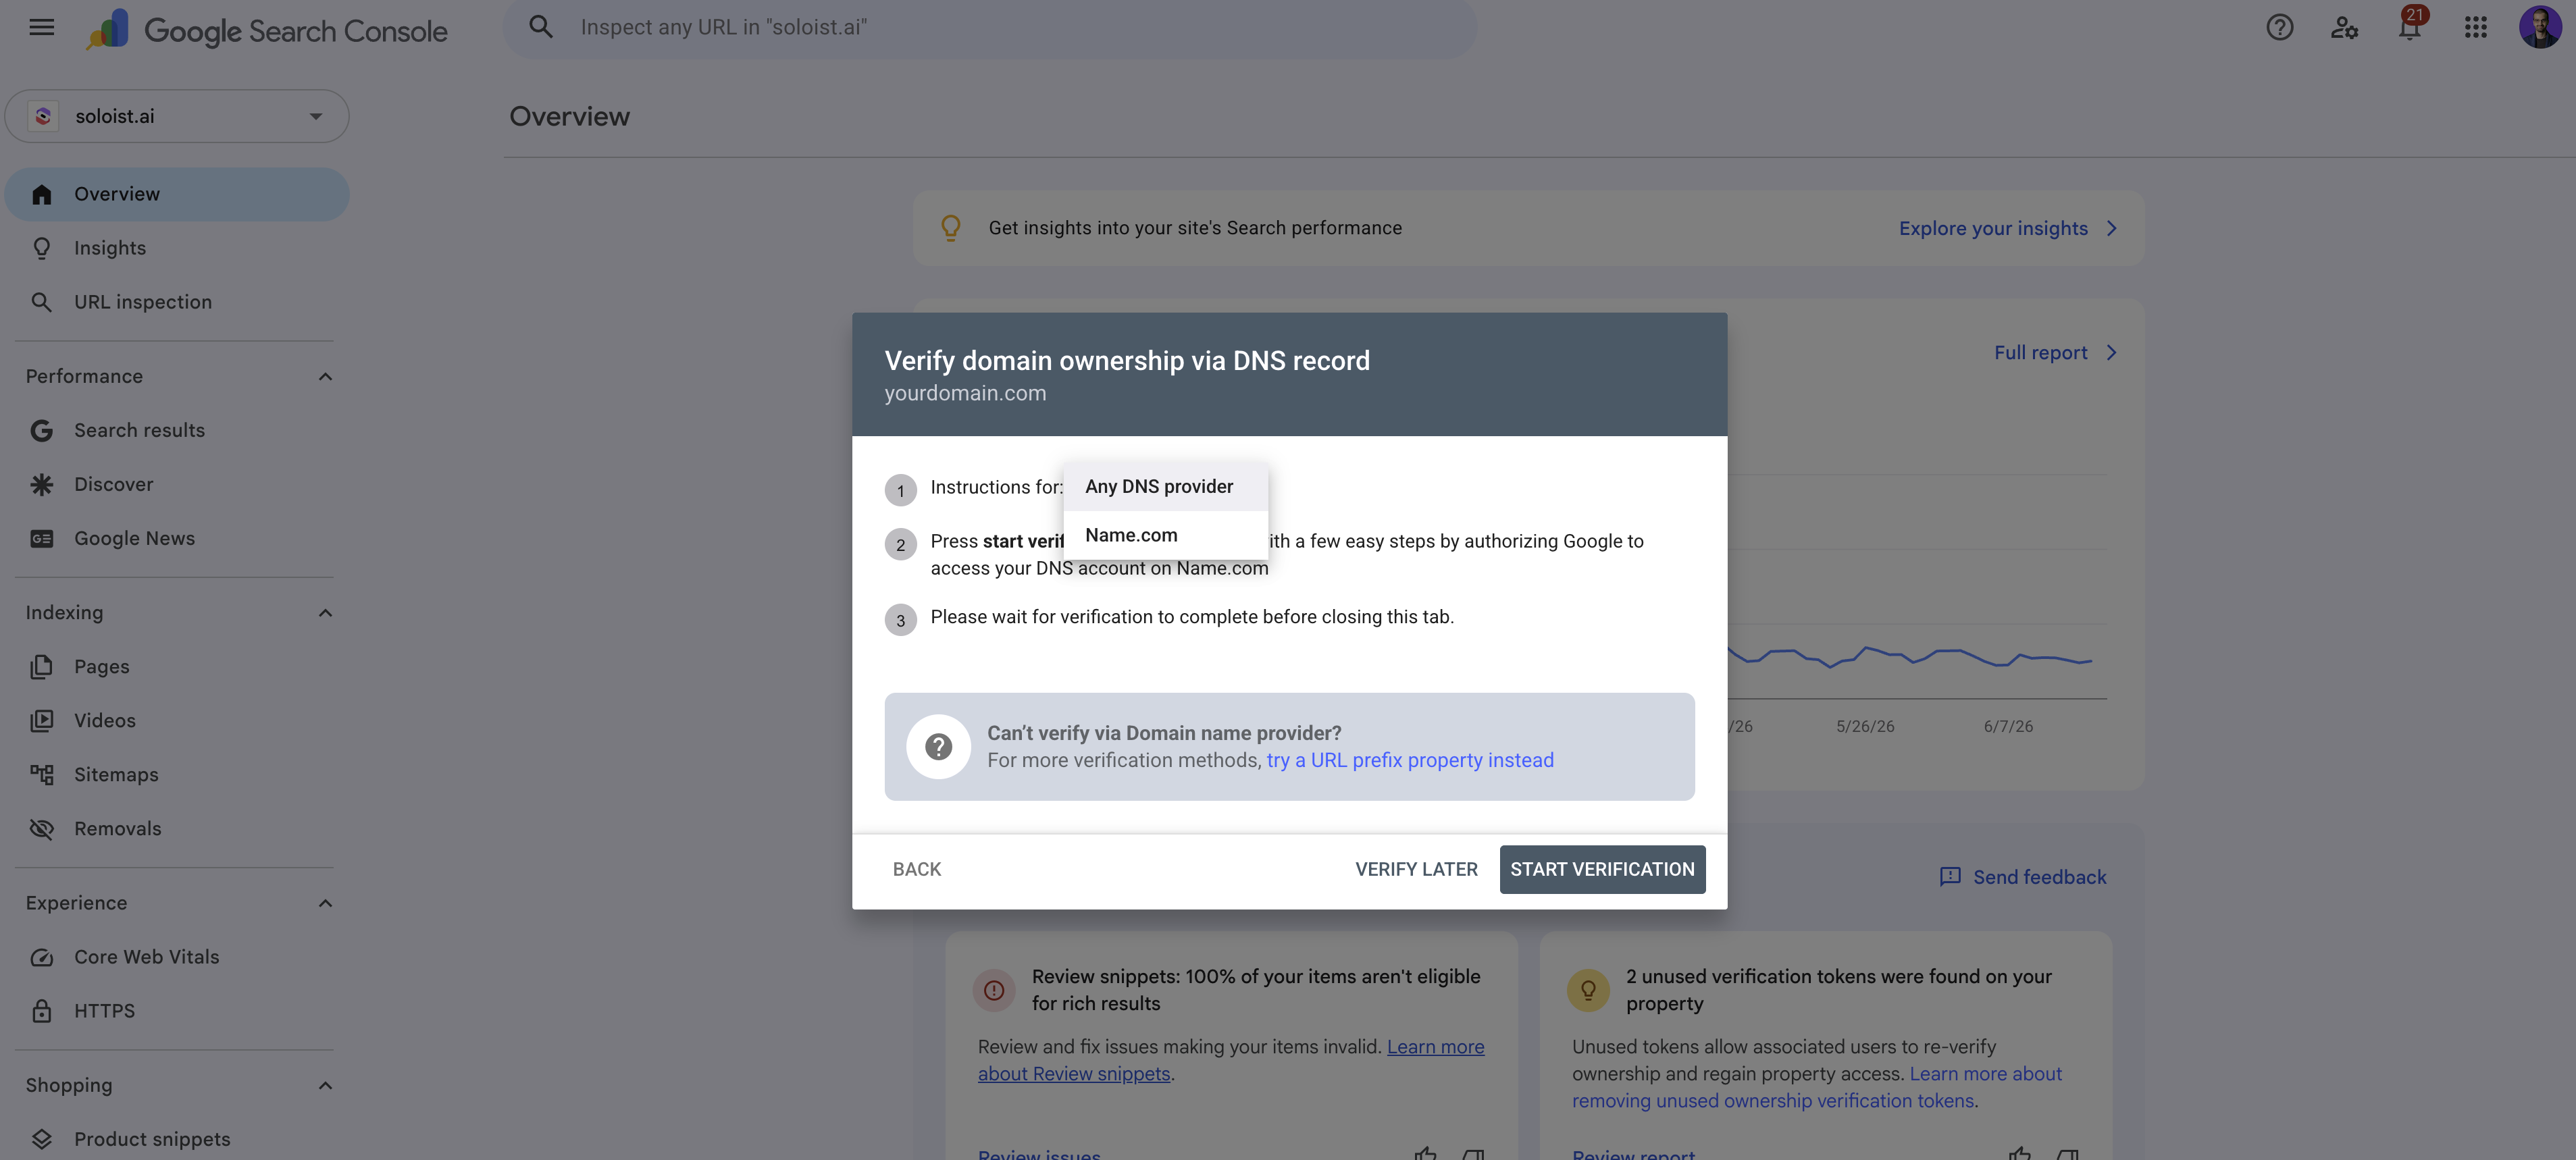
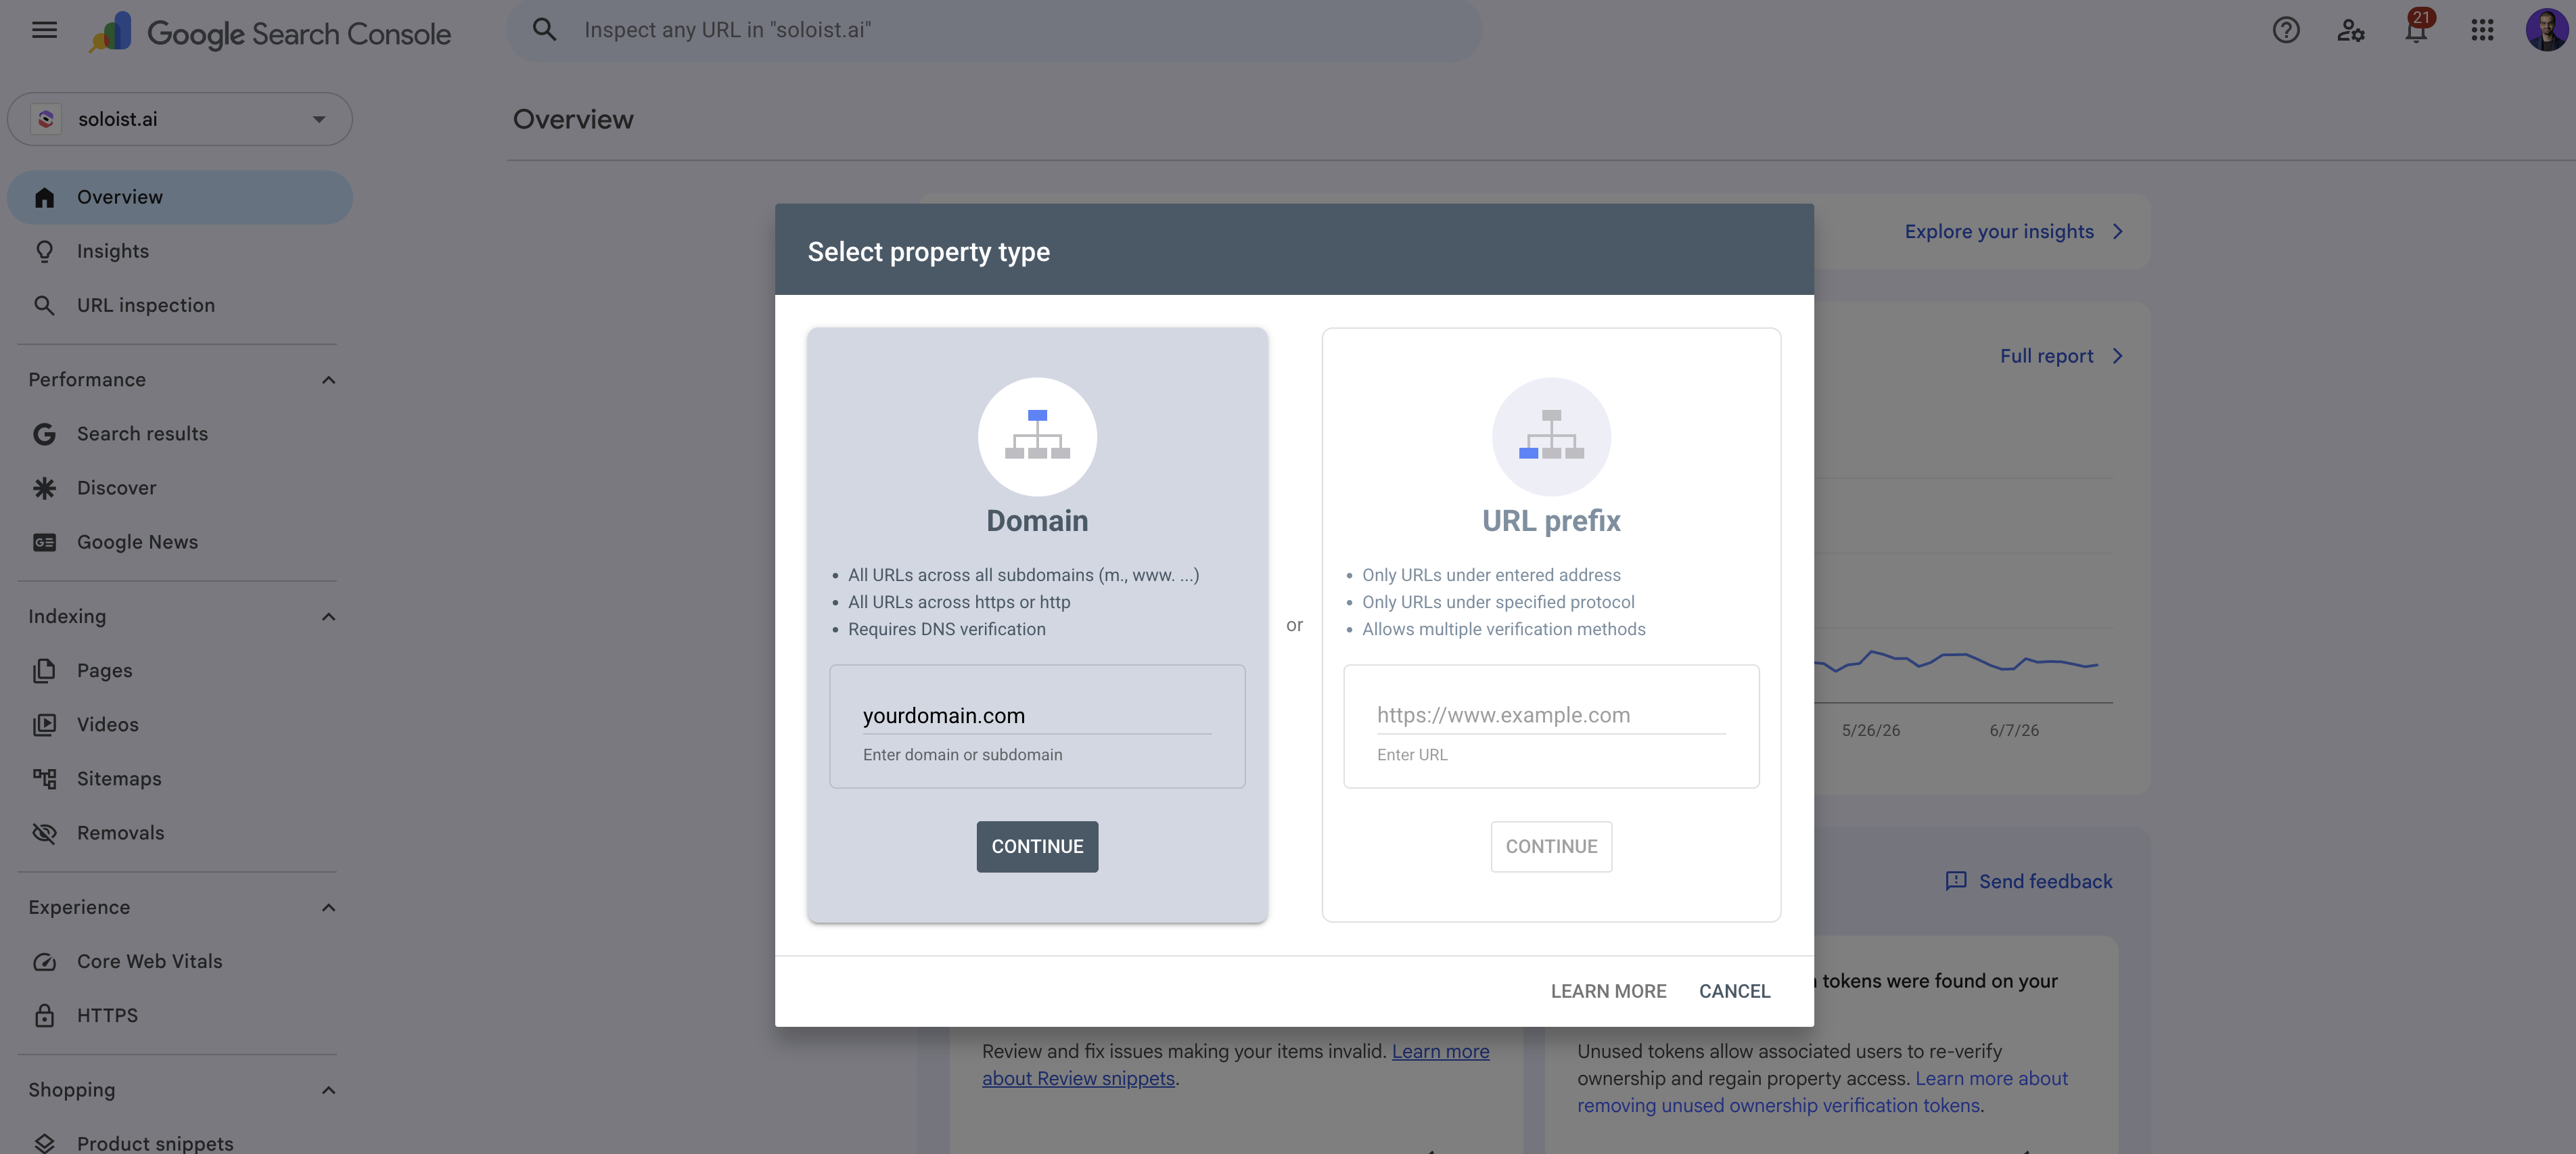 4. Select “Any DNS” provider by clicking Instructions for dropdown
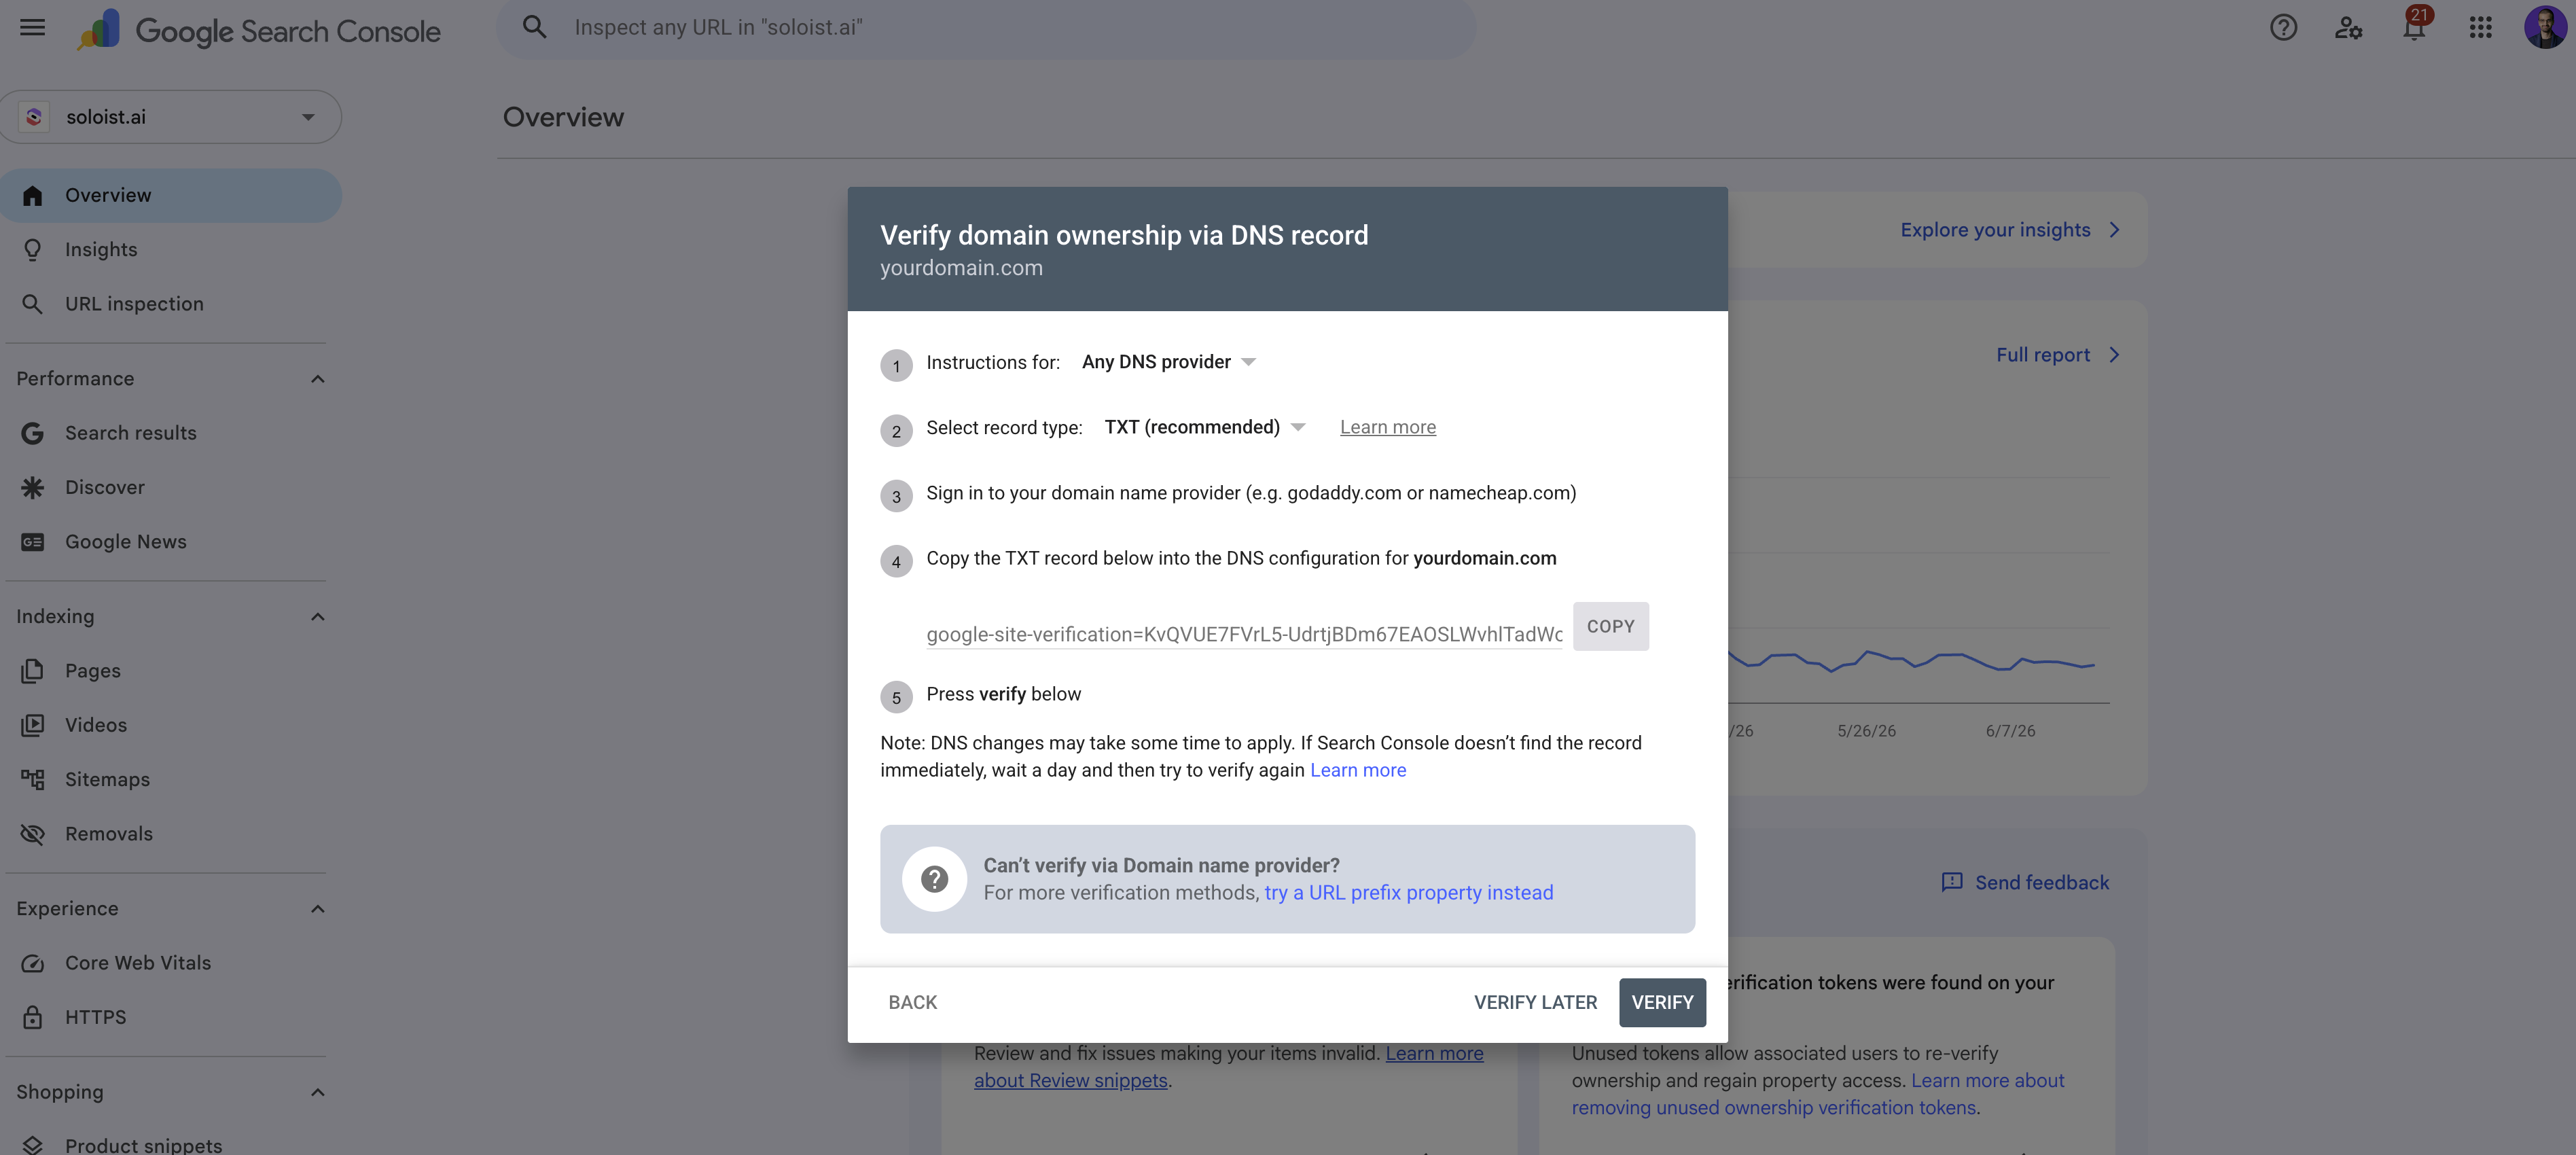
 5. Google will show you a TXT record to copy. It looks like
 google-site-verification=xxxxxxxxx. Click copy
 Step 2: Add the TXT record to your domain
If you bought your domain through Solo:
You don't need to log in anywhere else. Solo manages your domain for you.
- Go to soloist.ai/designer and click the account menu at the top right, then click Manage Domains.
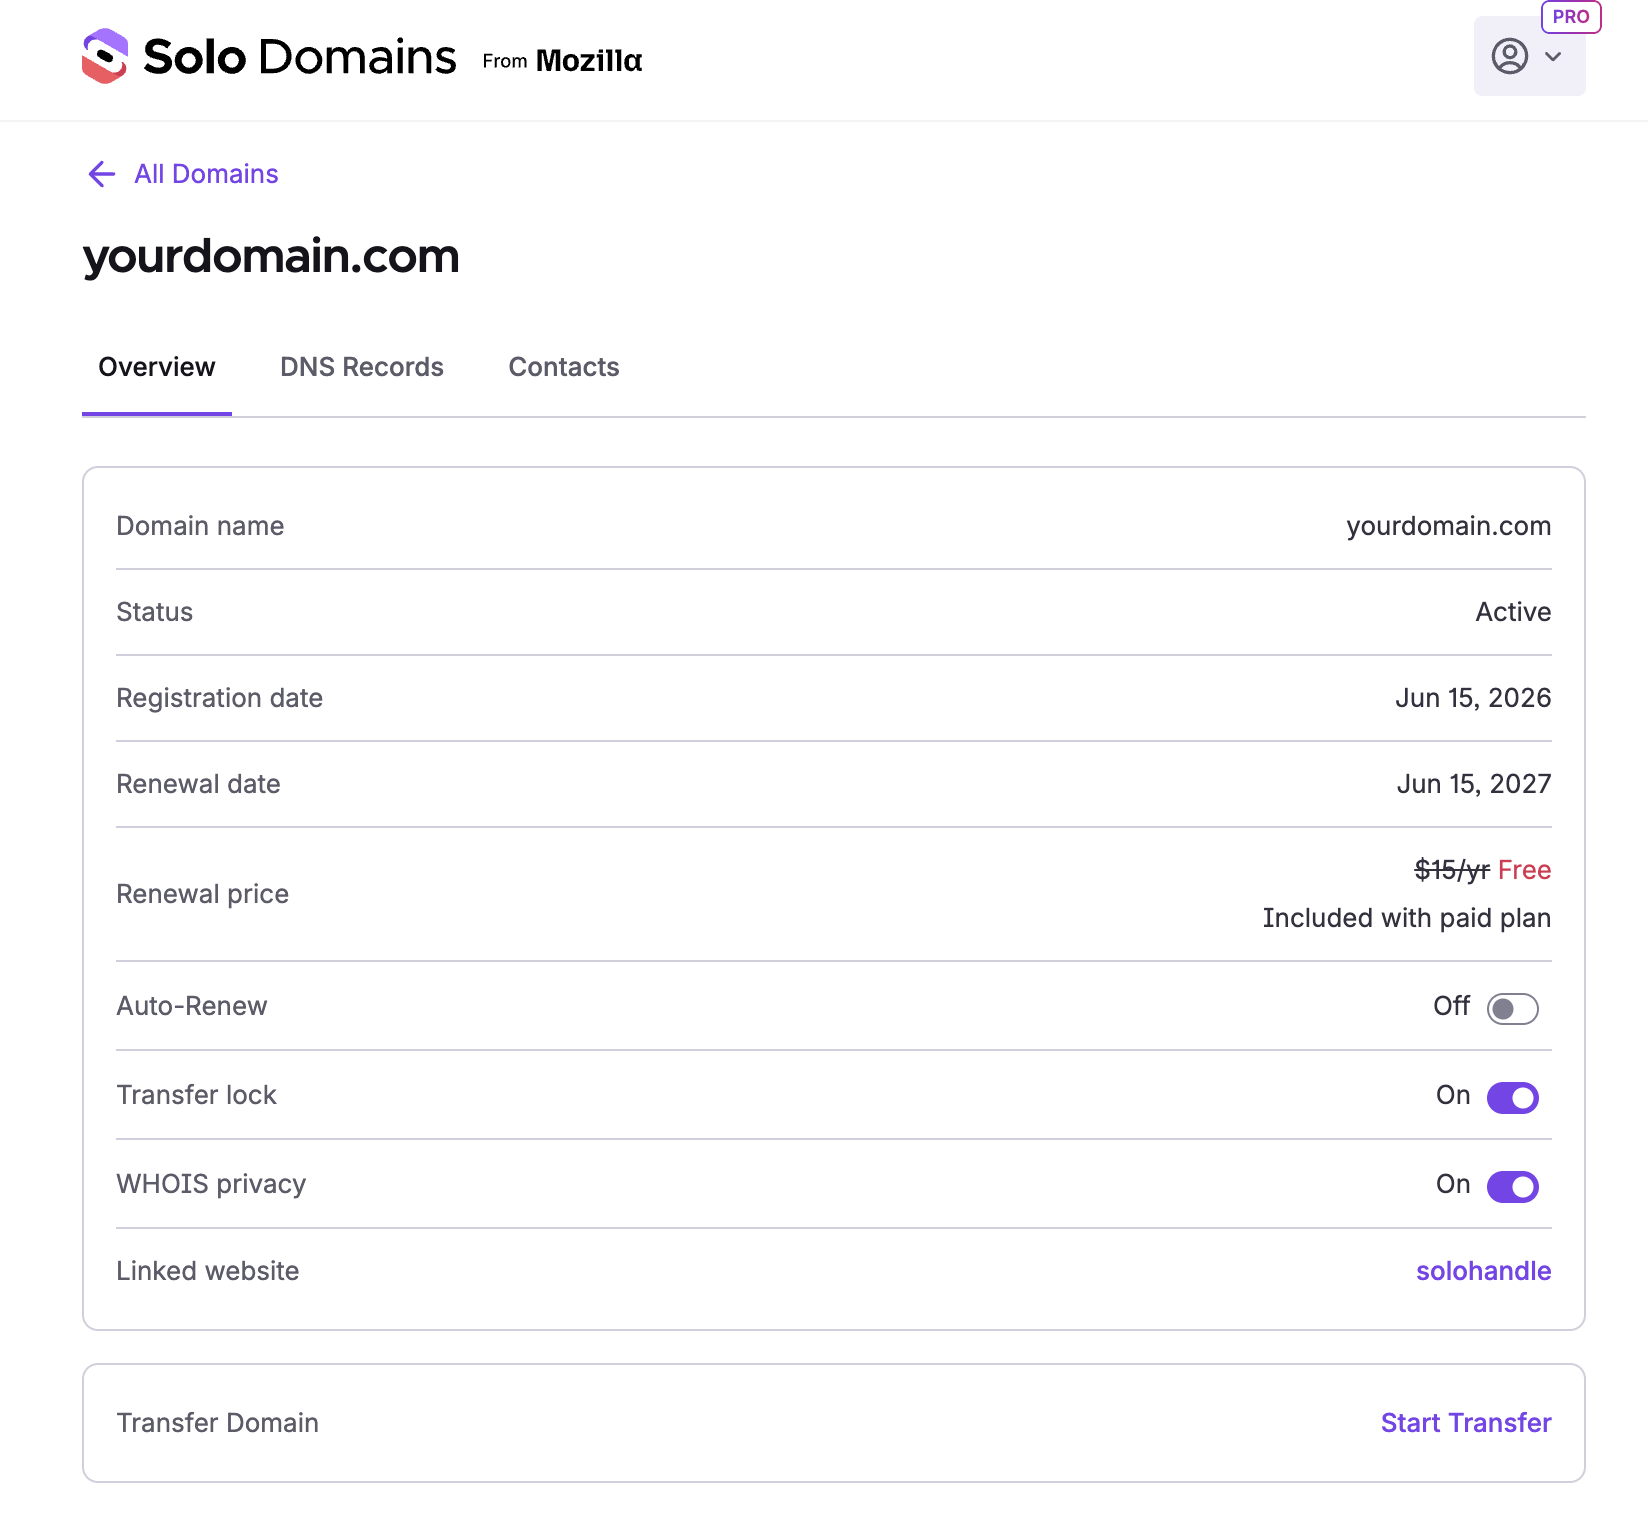 2. Open your domain and go to the DNS Records tab.
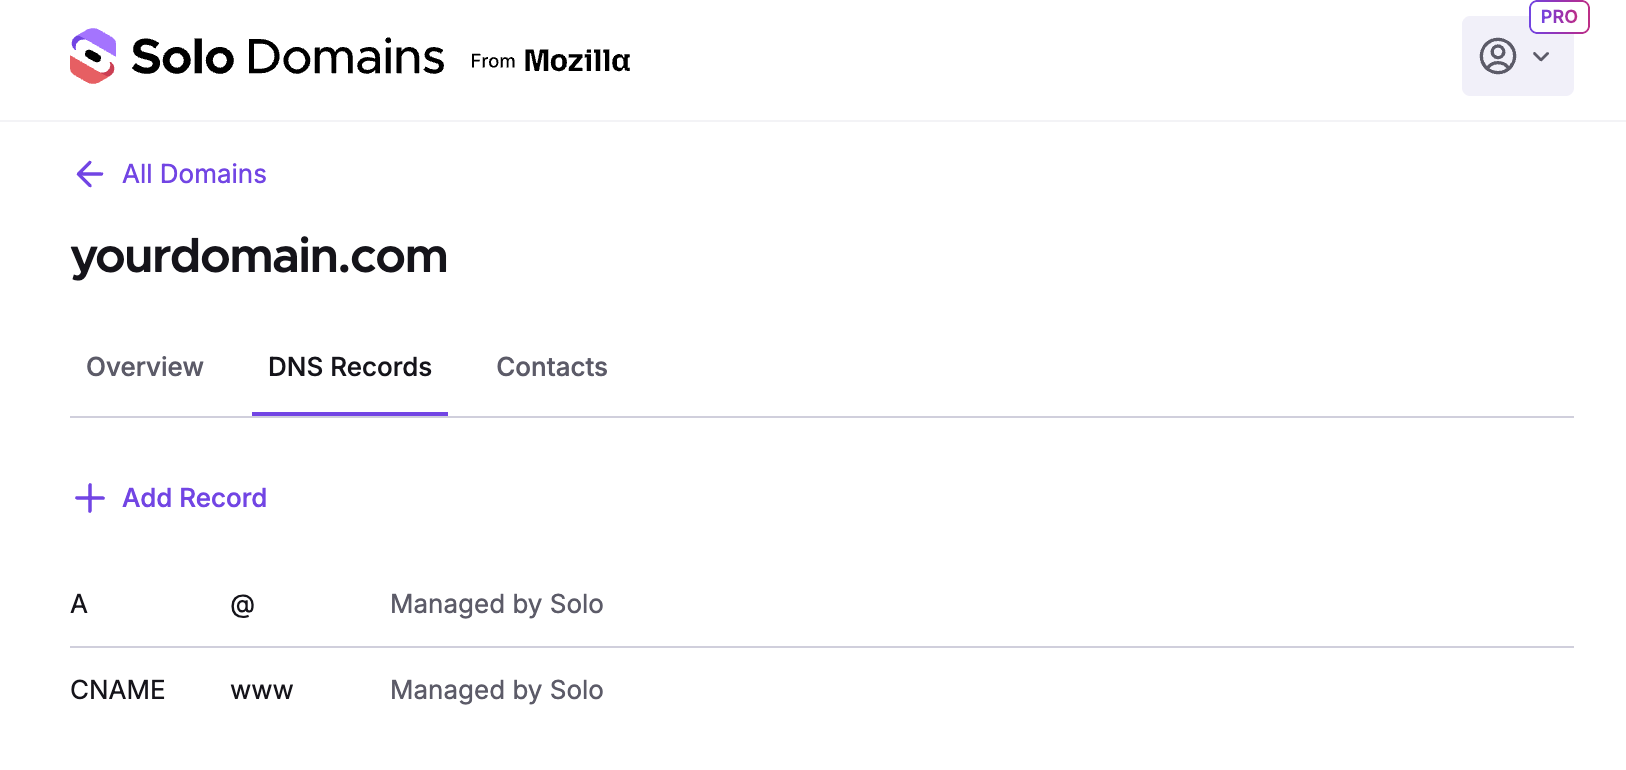 3. Click Add Record.
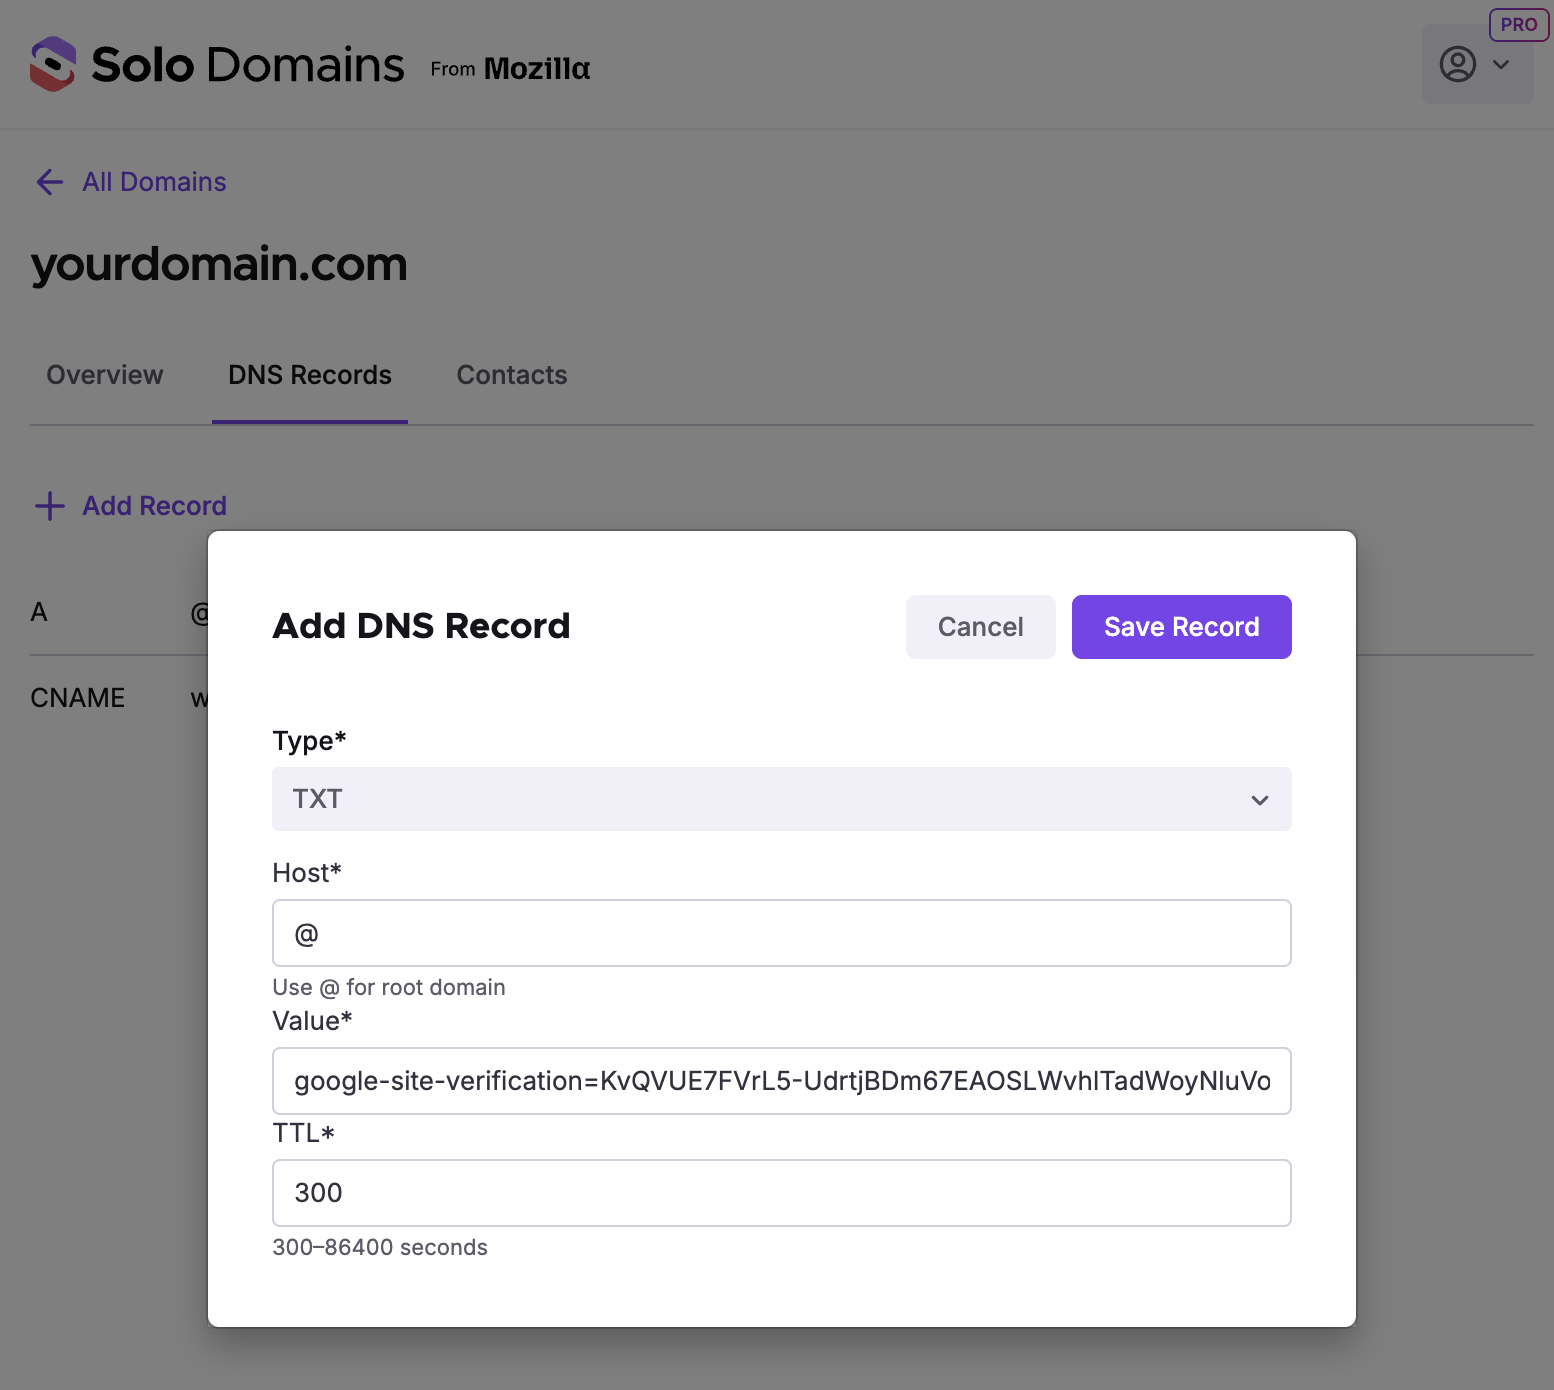
 4. Select TXT for the type and paste in the value Google gave you, then click Save Record
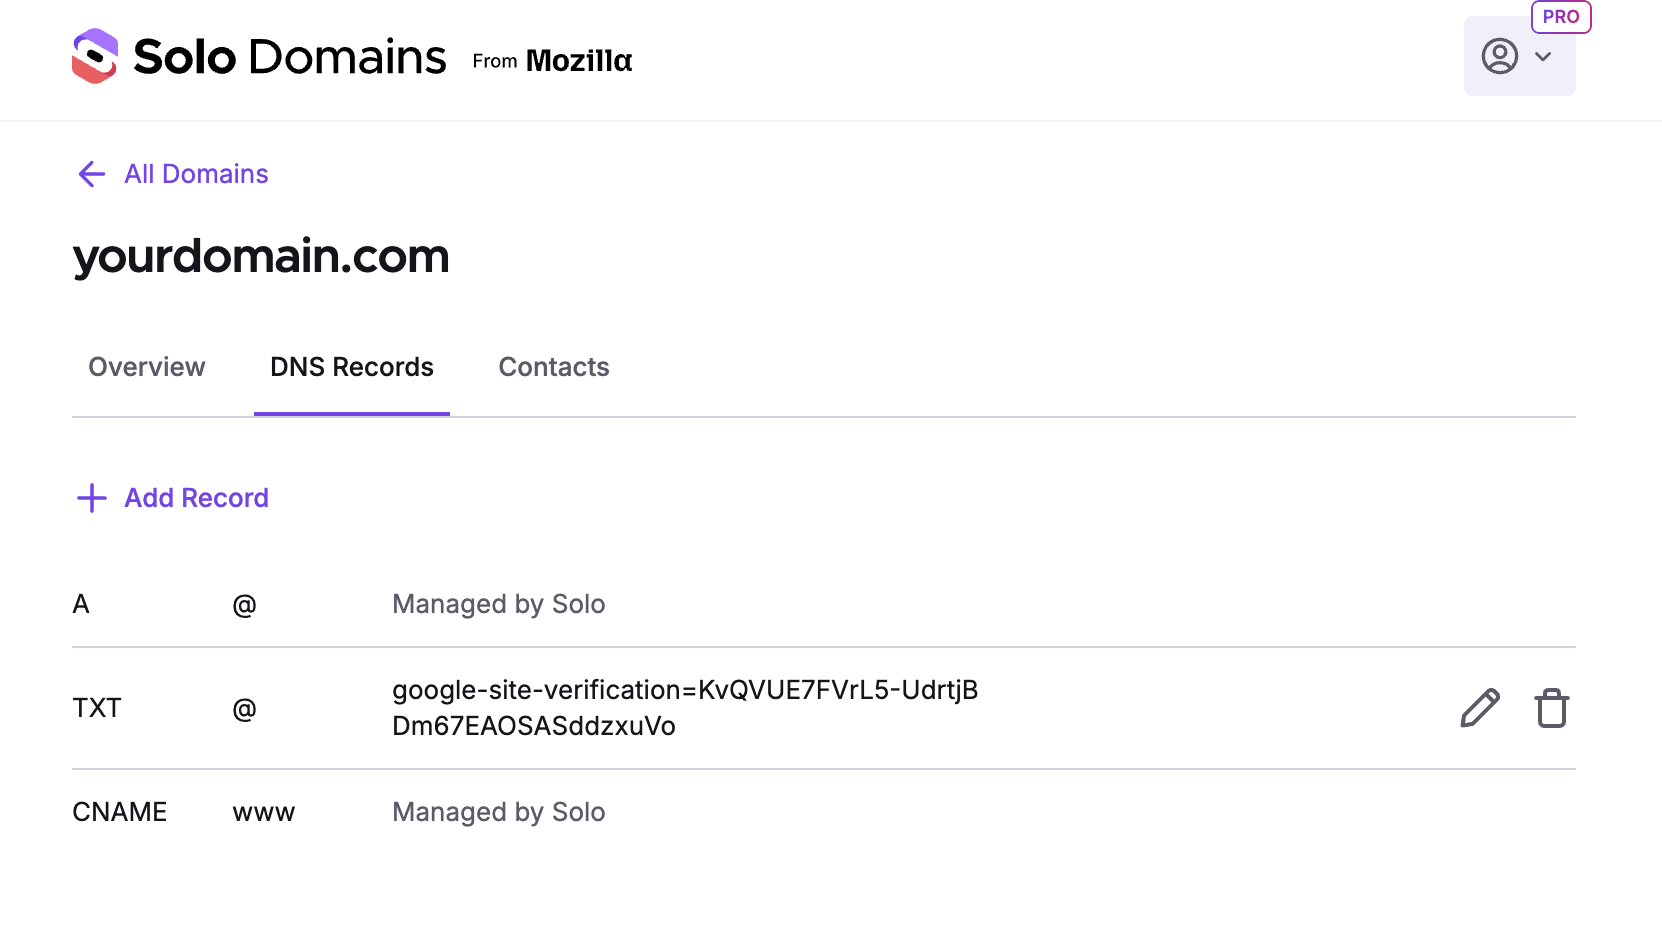
 5. Verify the TXT record is added.
 For more detail on editing DNS records, see How to edit my domain DNS records.
If you connected an external domain (e.g. from GoDaddy, Namecheap, etc.):
Log in to your domain registrar and add the TXT record there.
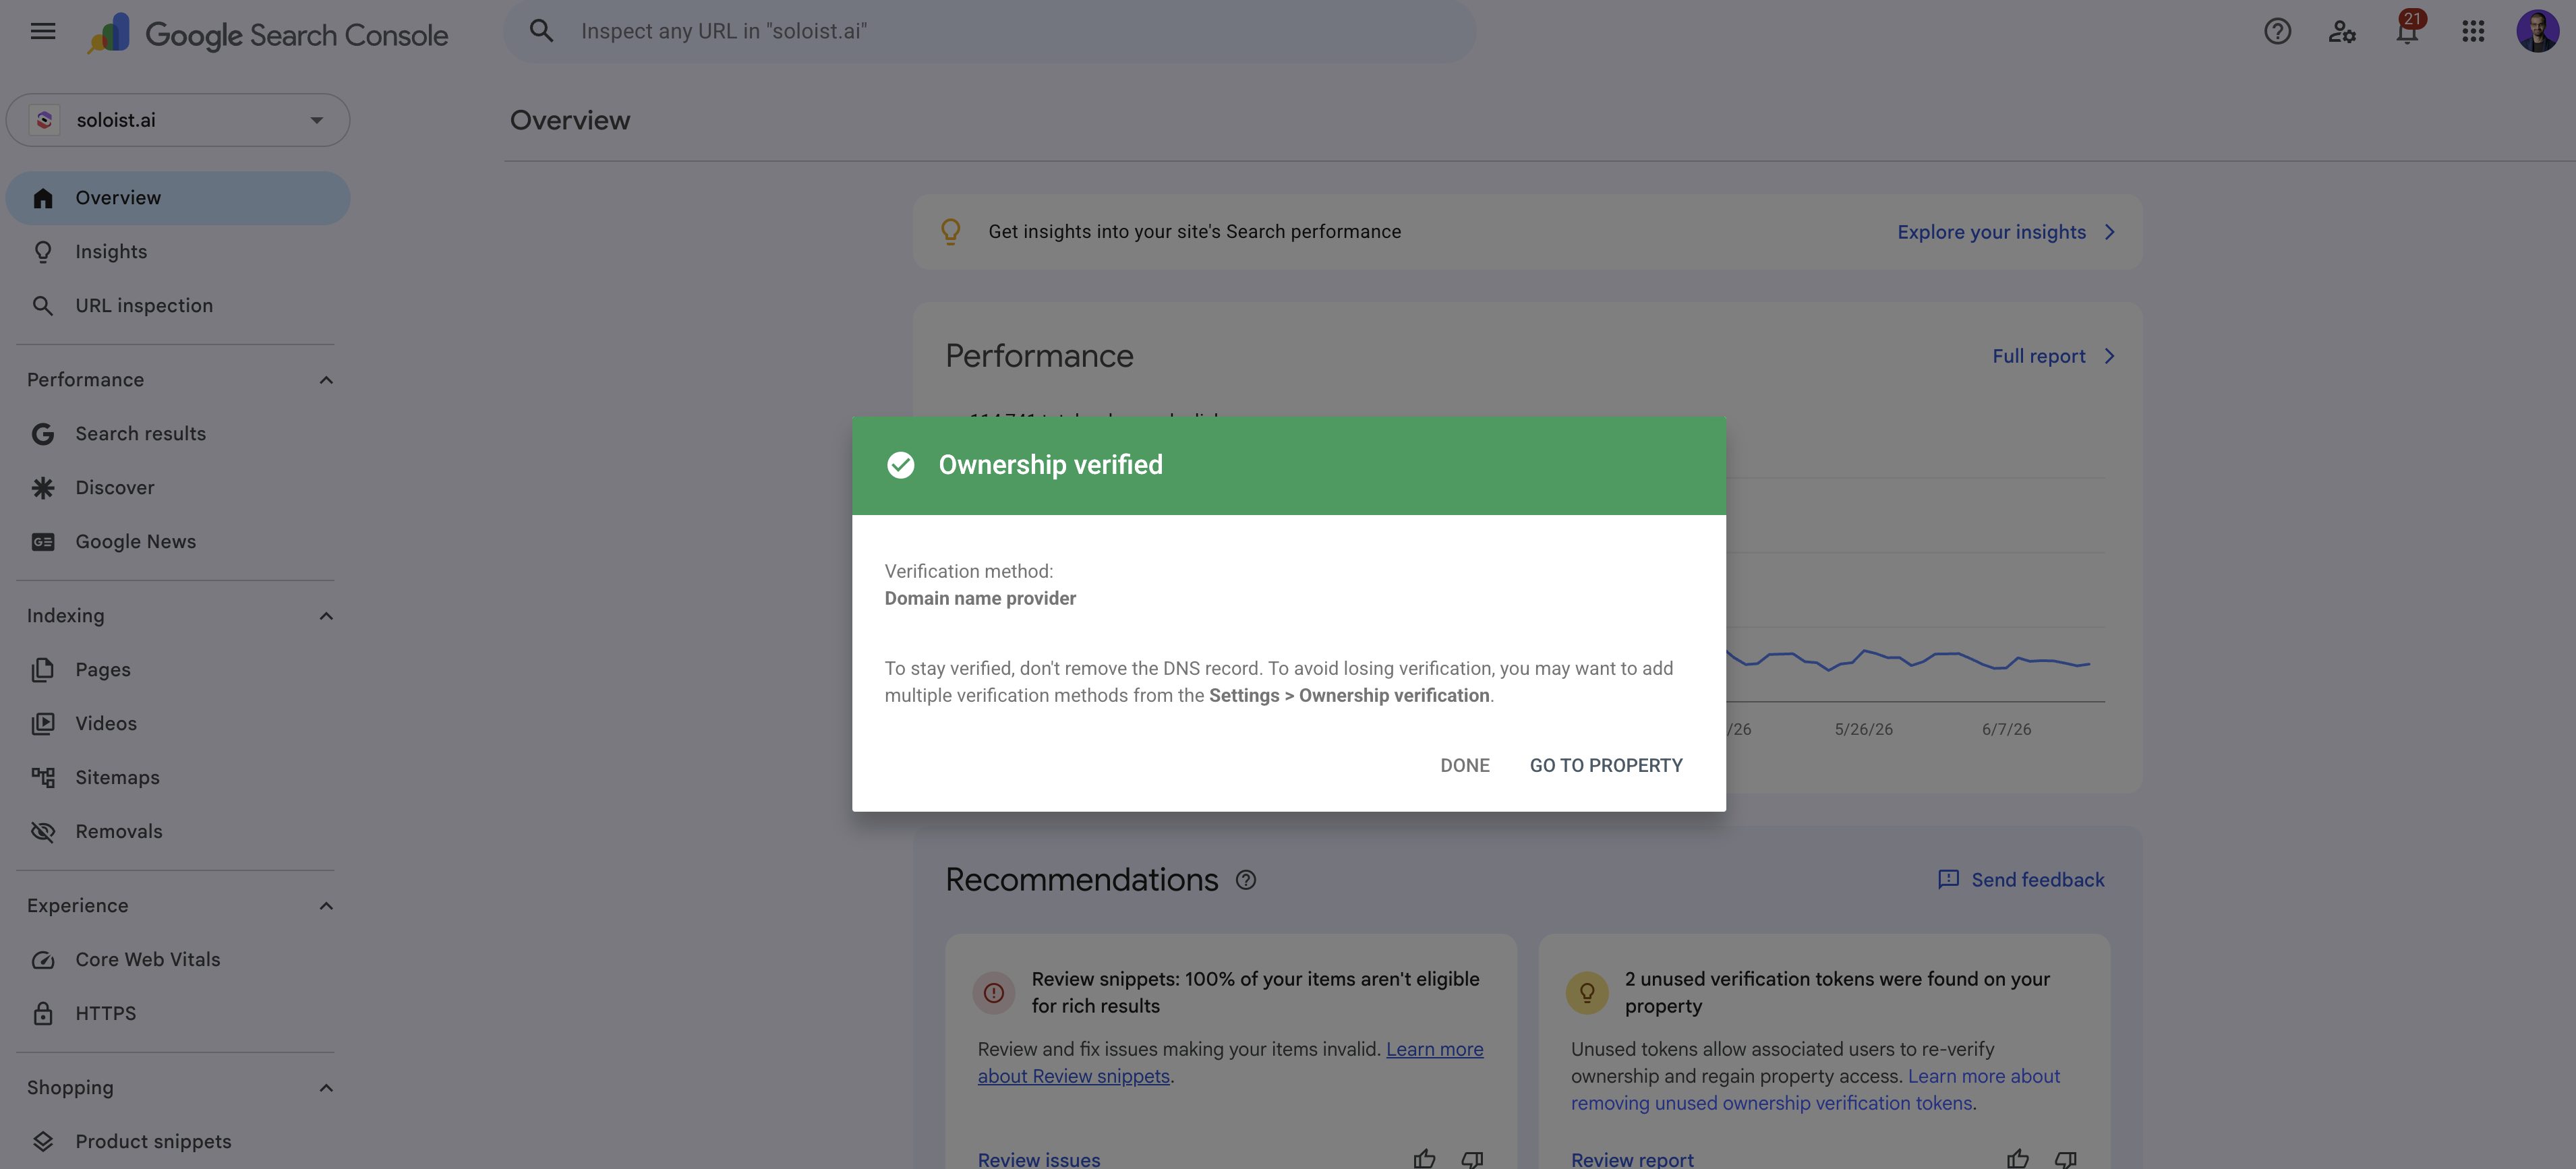
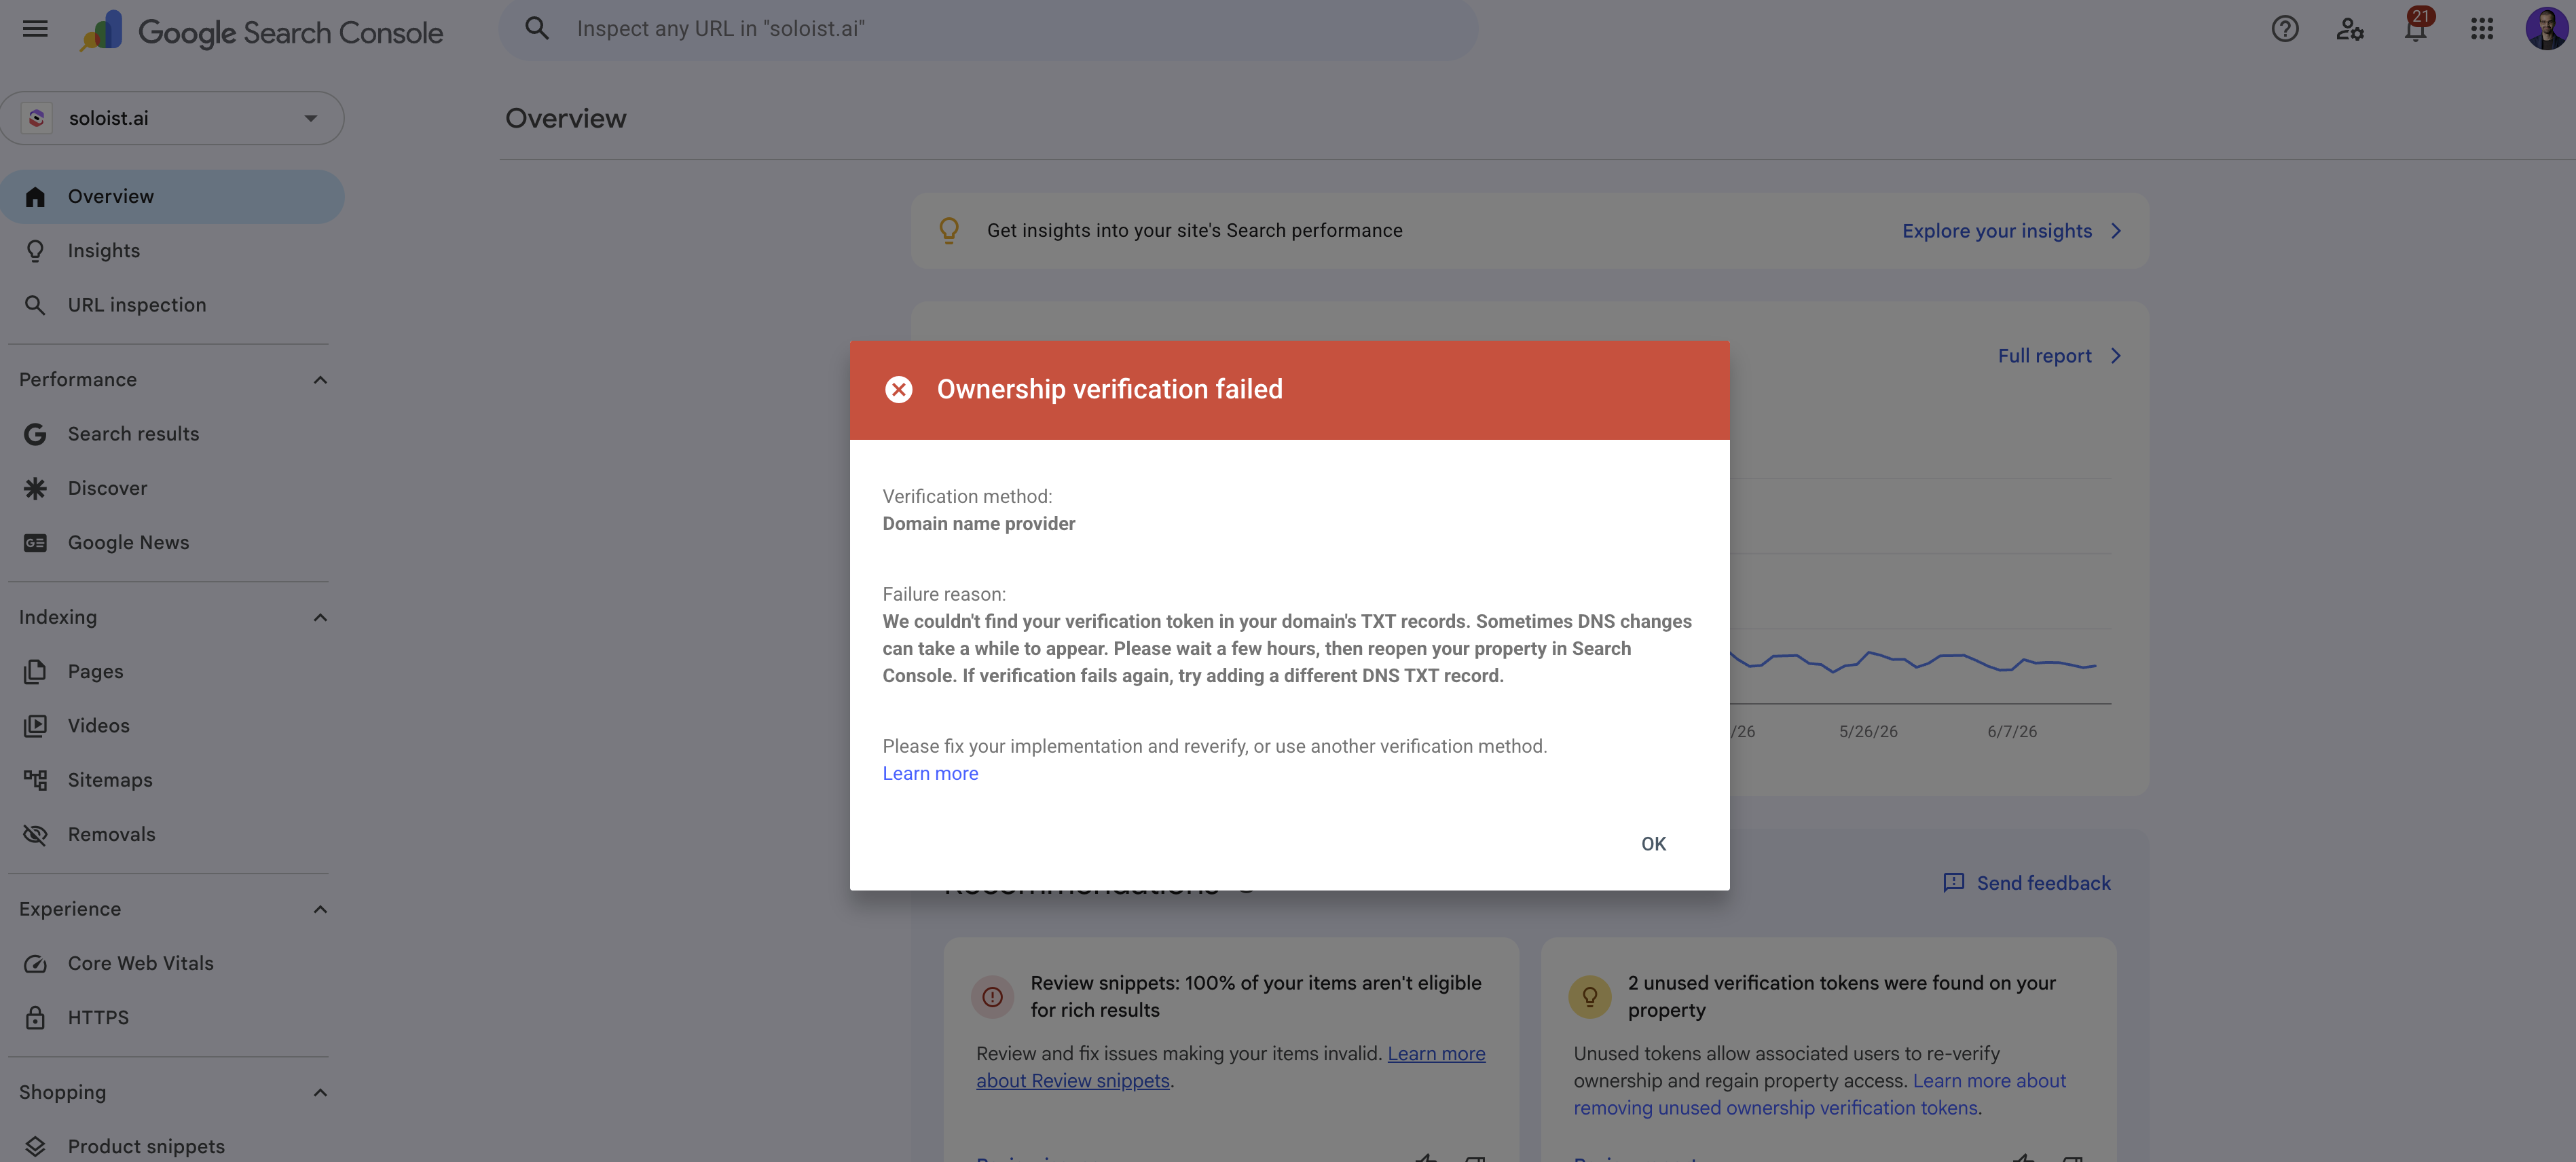
Step 3: Verify in Google Search Console
- Go back to Google Search Console and click Verify. It can take a few minutes for the DNS change to propagate.
 You may see this error if you have not added the correct TXT value or forgot to click Save Record
 Once verified, your sitemap is available at
 https://yourdomain.com/sitemap.xml.
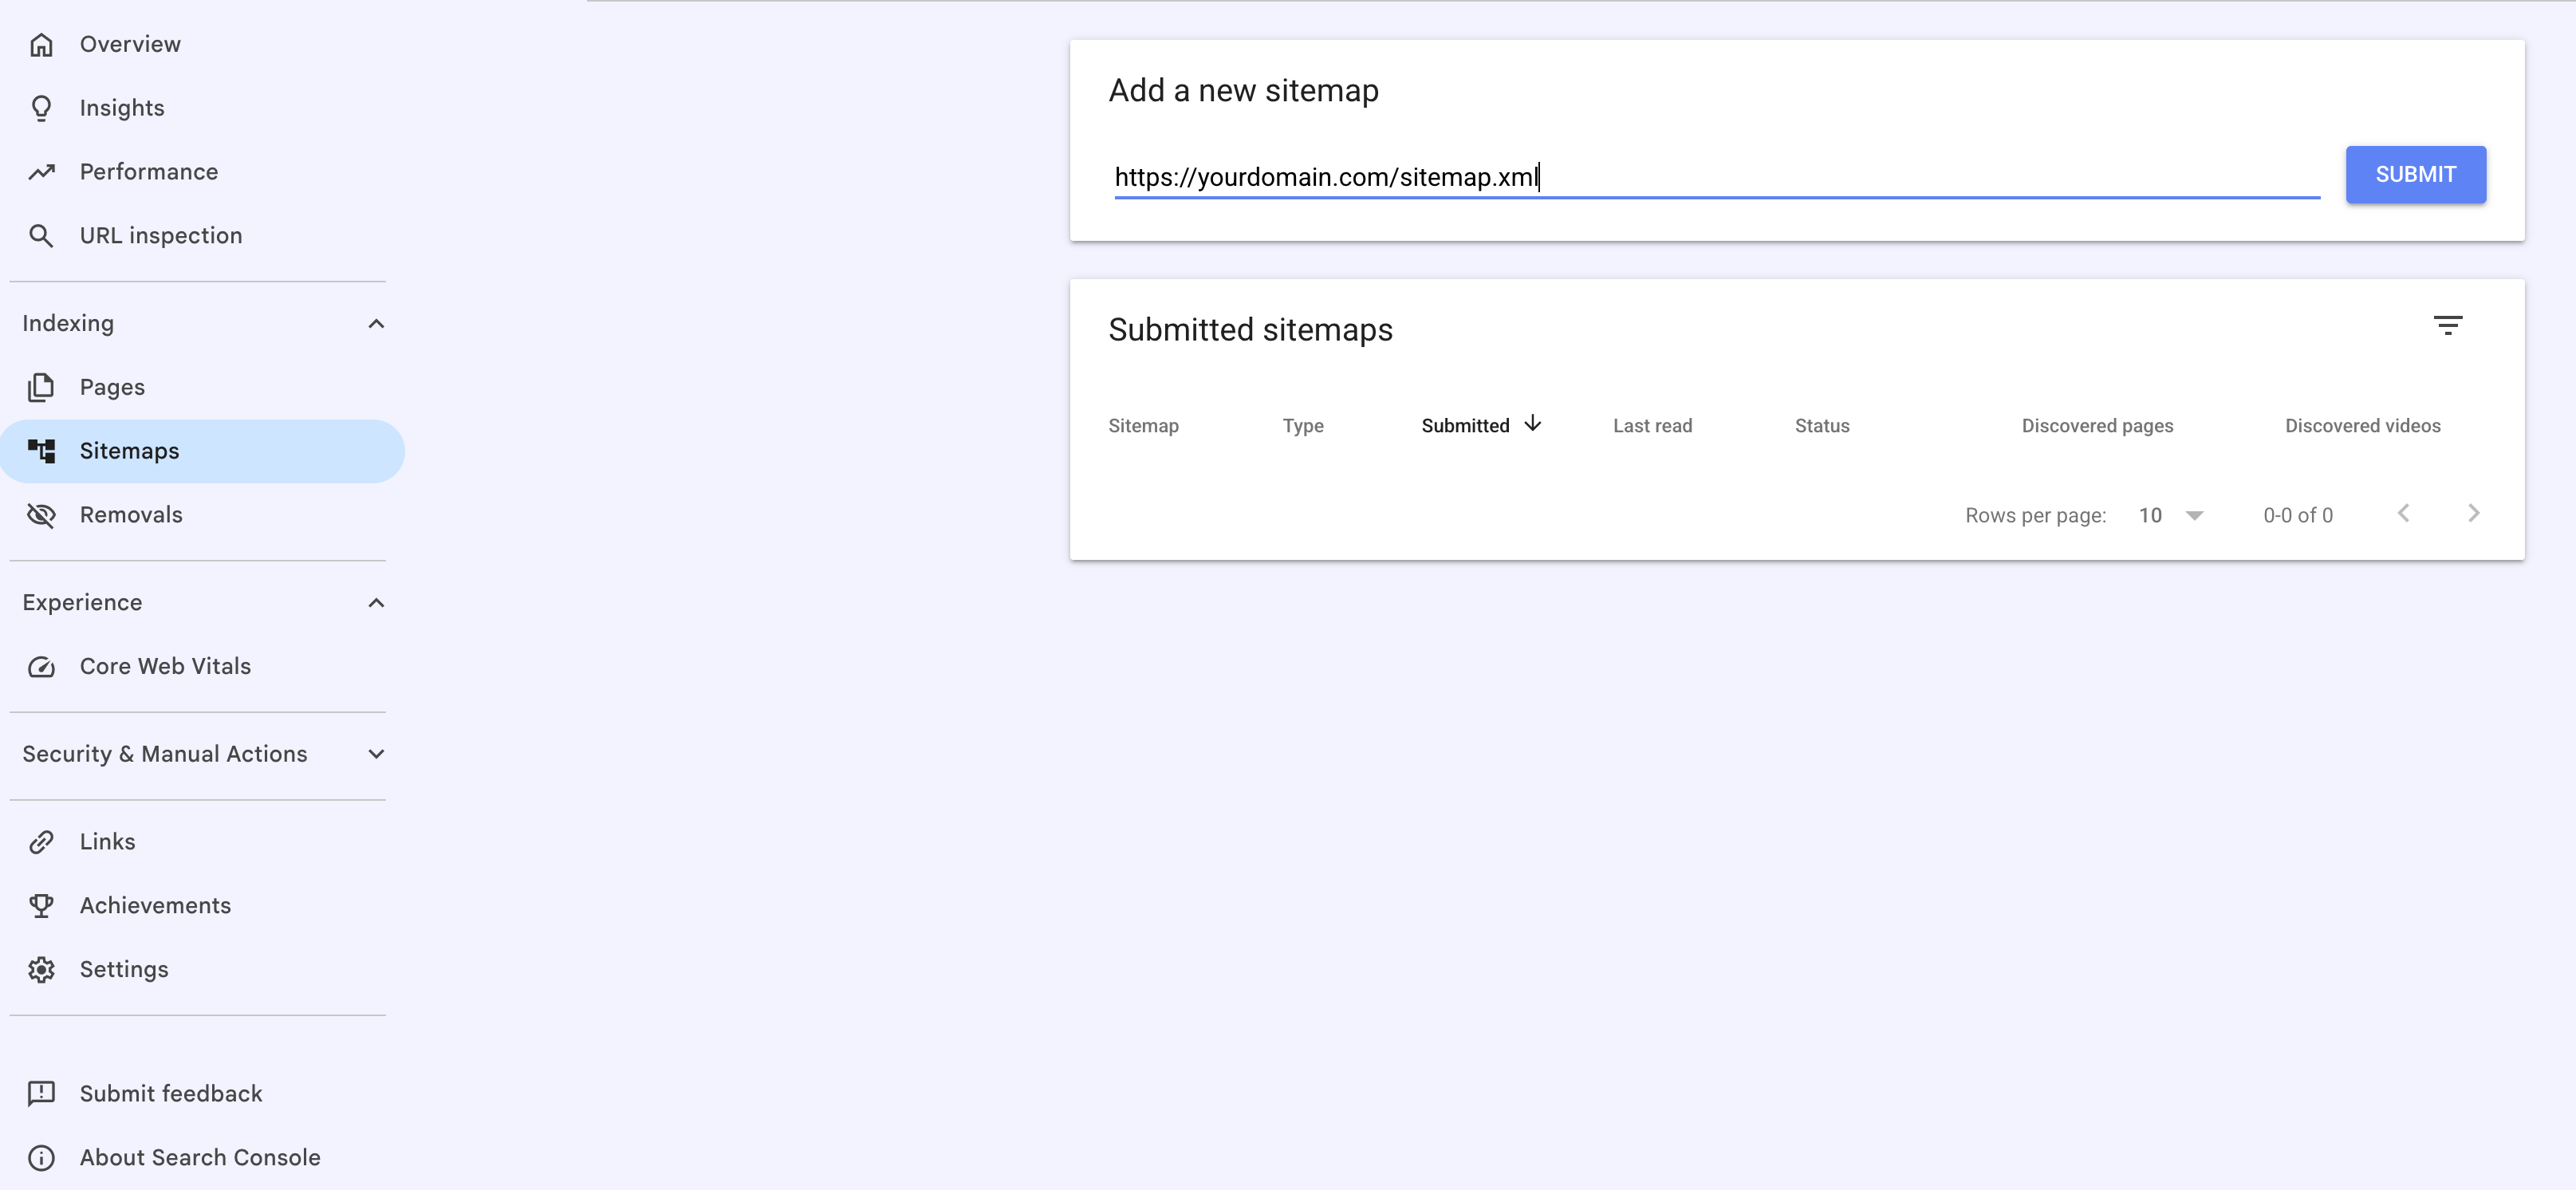
Step 4: Submit your sitemap to Google Search Console
- Click Sitemaps in the left sidebar
 8. Type https://yourdomain.com/sitemap.xml (e.g. https://soloist.ai/sitemap.xml) and click Submit.
Confirm you added the “https://” before your domain name.
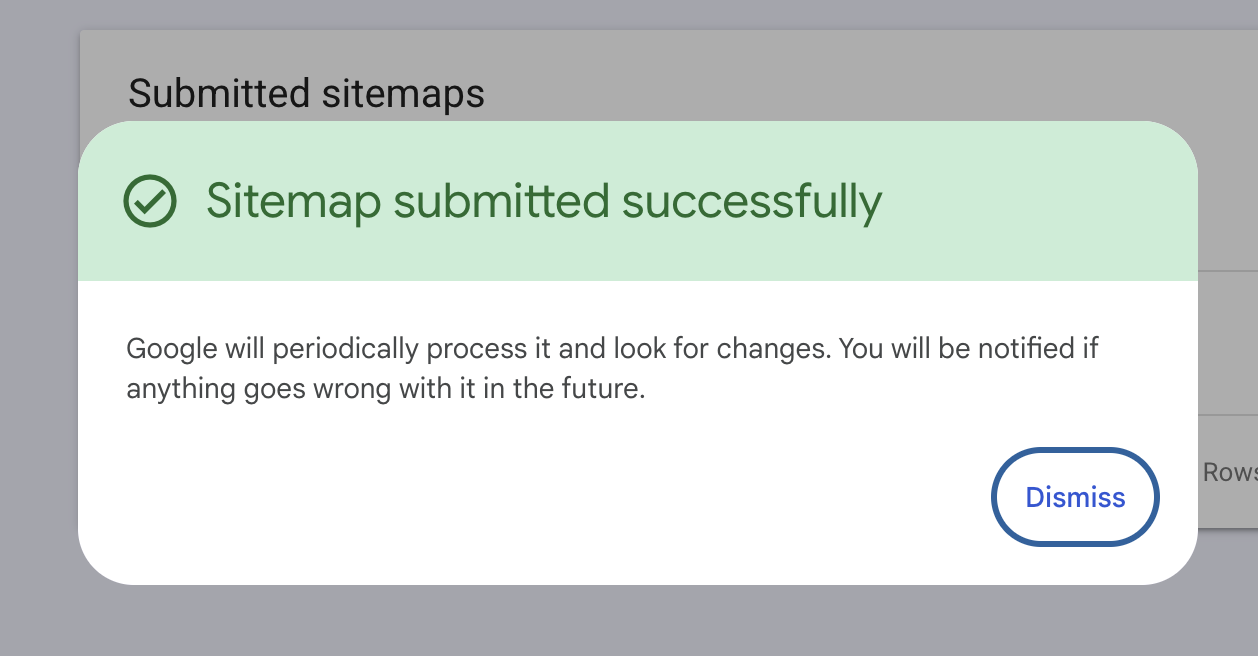
 9. Google will display sitemap submitted successfully
Related Articles
Still have a question? Post to our Reddit group or email the team.