You can use popular vendors like Calendly.com, Tidycal.com or Google Calendar to create your scheduling link.
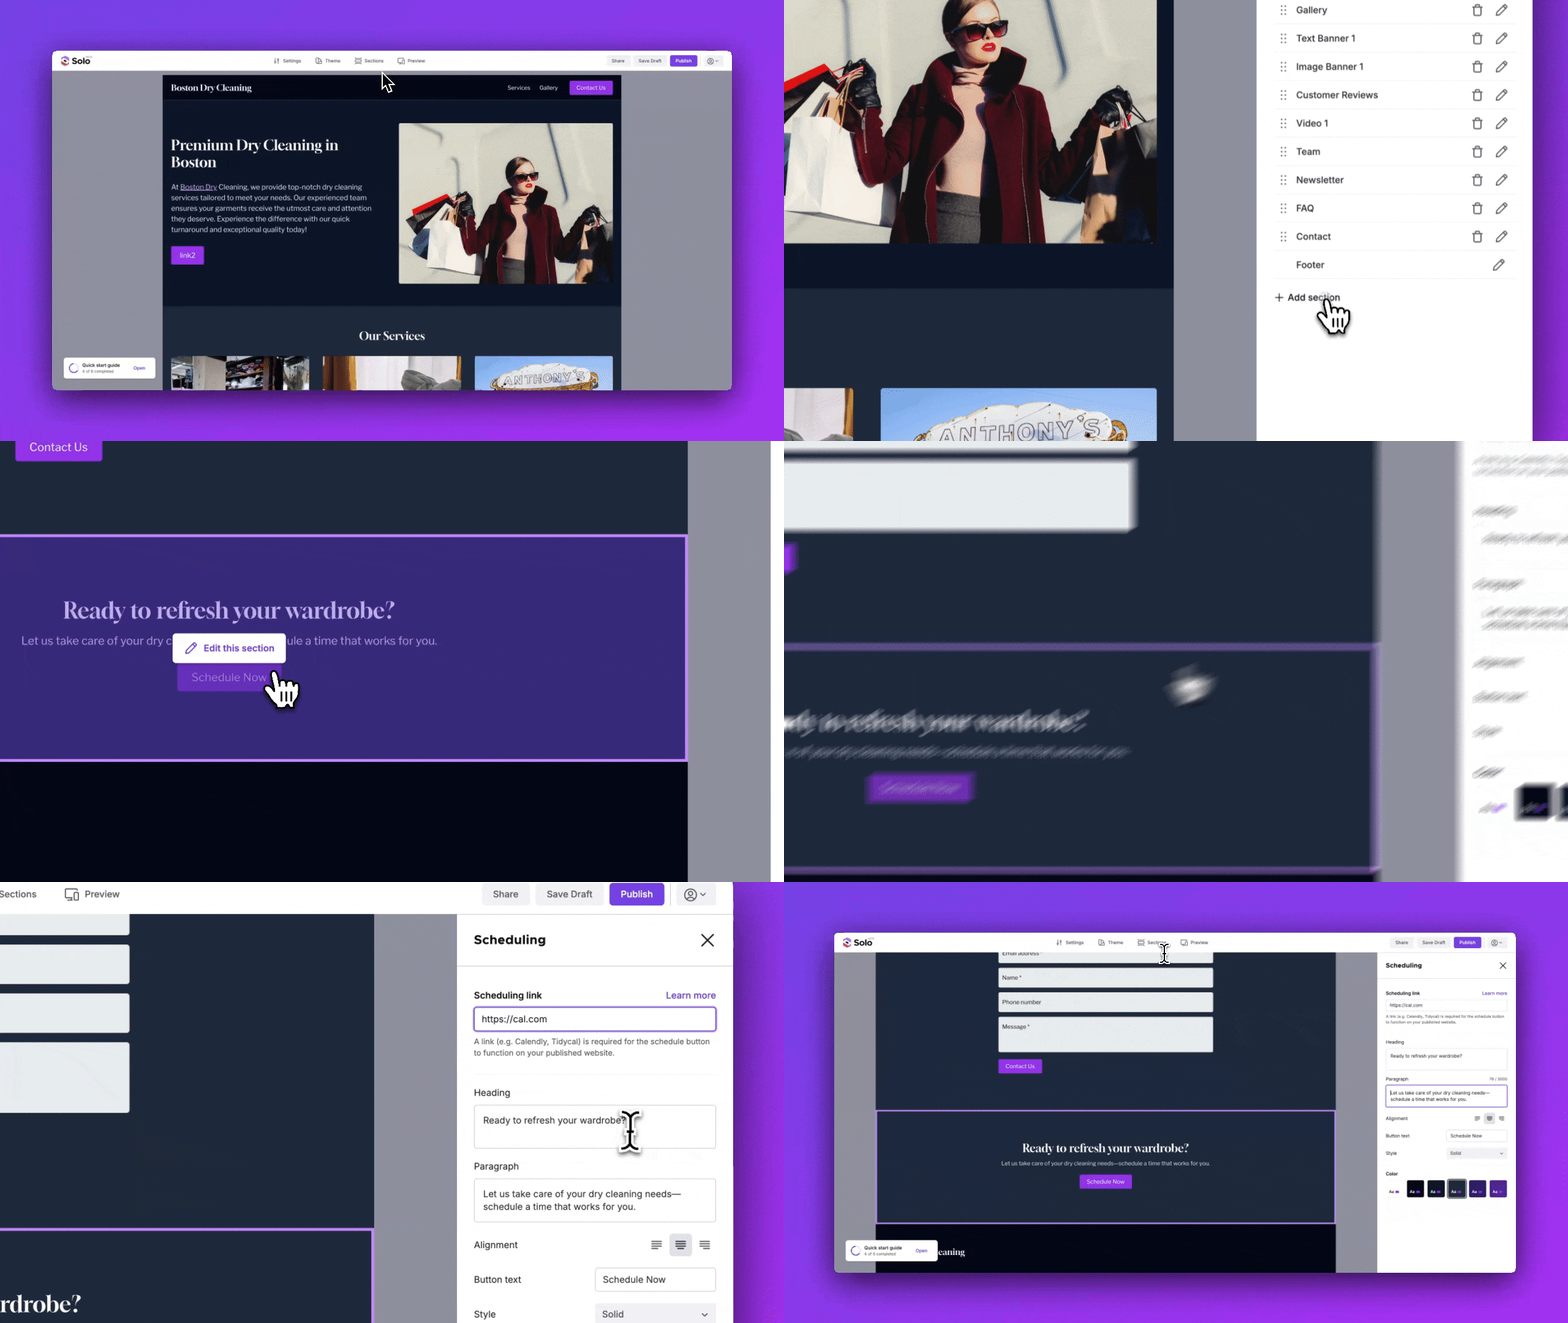
You can add your scheduling link to your Solo website by following the steps below:
1. Visit the designer
2. In the top toolbar, click [Sections]
3. In the Sections right sidebar, click [Add section]
4. Double click the [Scheduling] section in the modal to add it to your website
5. In the designer area, scroll down to the Scheduling section, and hover over the section
6. Click [Edit section]
7. In the Scheduling right sidebar, you can add your scheduling link
