How can I add or upload images to my website?
You can add images to your Solo website directly in the designer. Most sections that display images, including the Gallery, let you upload your own file or choose one from the built-in Unsplash library, so there is no separate upload step.
Add or replace an image
-
Open your site in the designer.
-
Hover over the section that contains the image you want to add or change — such as a Gallery, hero, or image block — and click the Edit section pencil icon that appears.

-
In the edit panel that opens, click the image thumbnail you want to replace. An Edit image dialog will appear — click Select New Image.
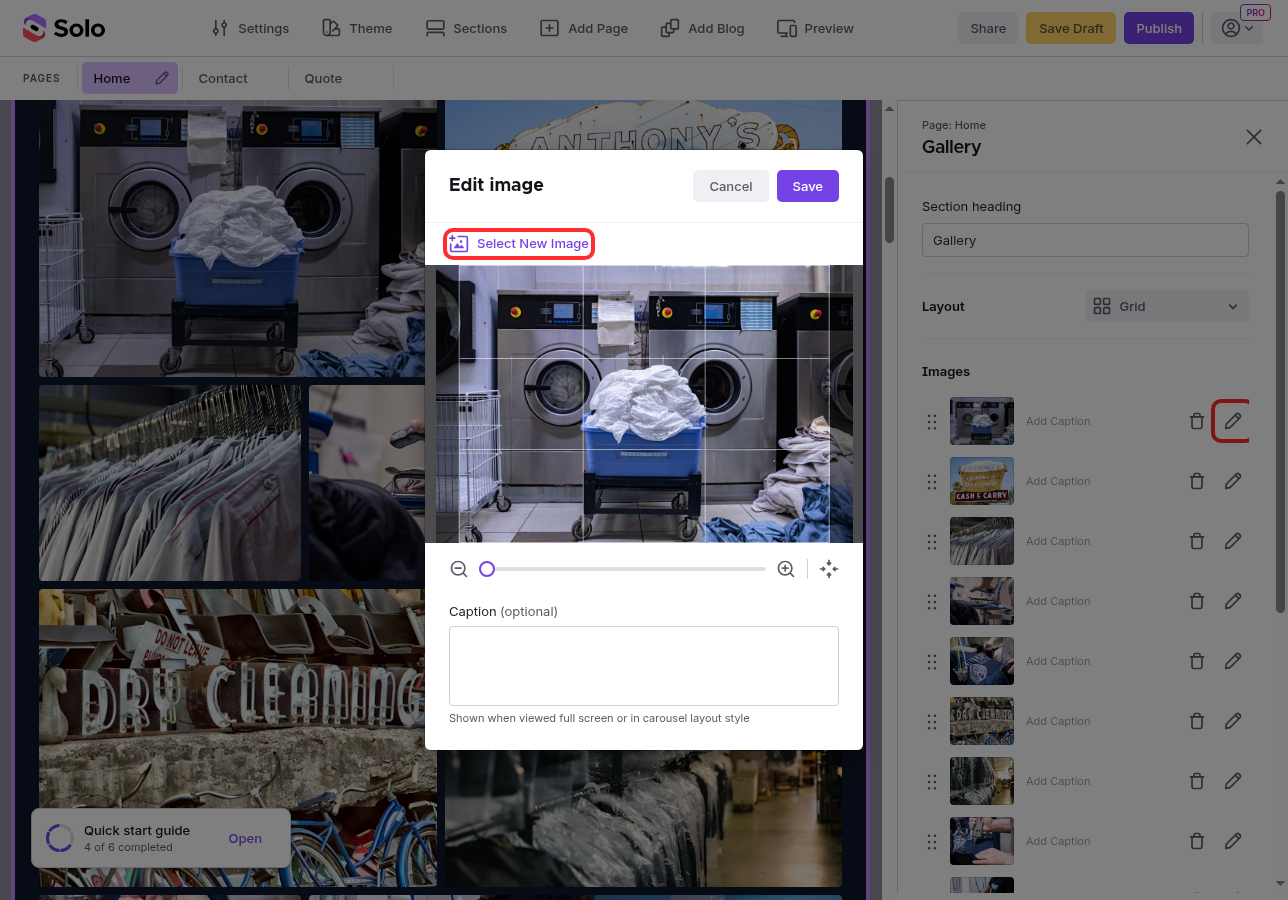
-
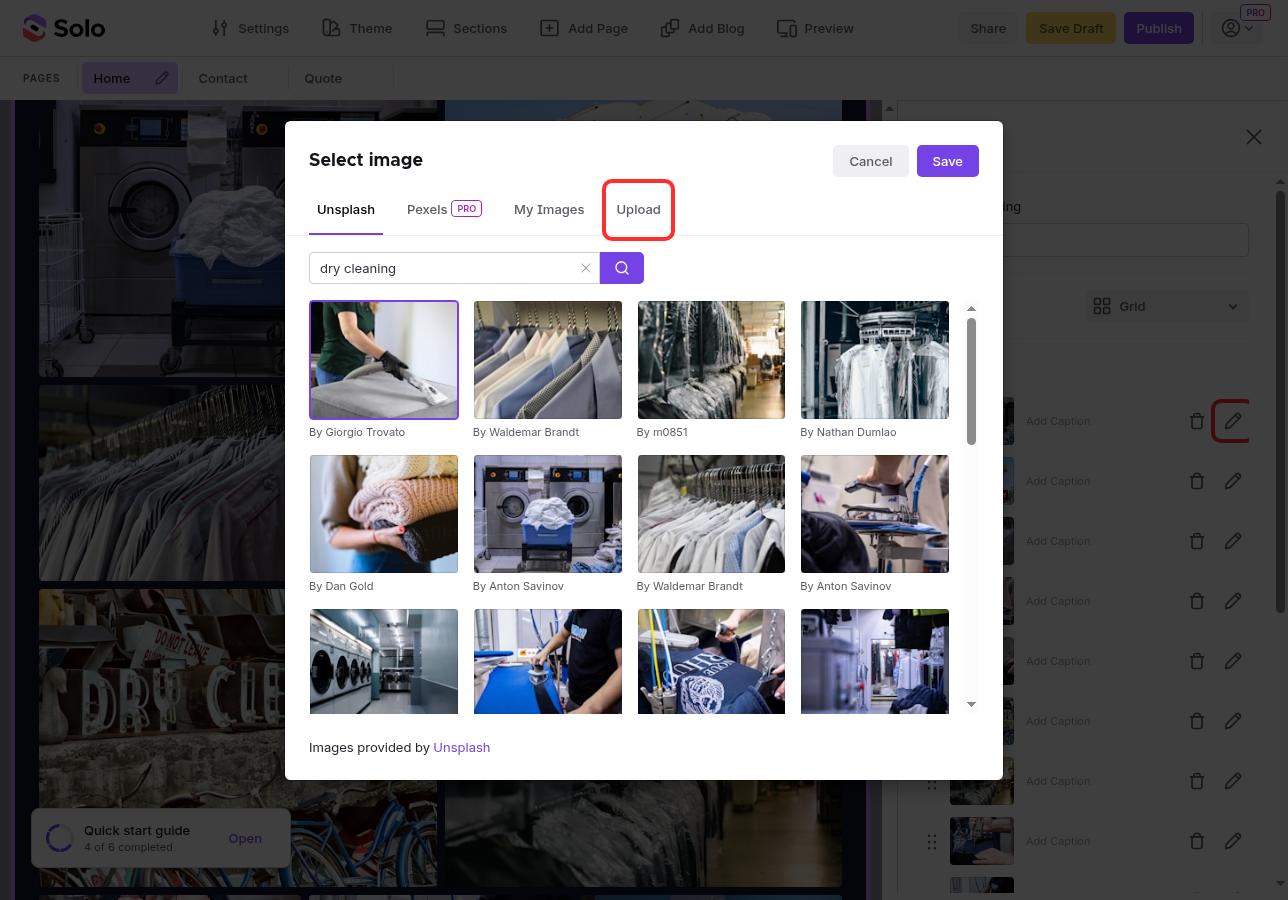
A Select image dialog opens with source tabs — choose Unsplash to search free stock photos, My Images to reuse a previously uploaded image, or Upload to add a new file from your device.
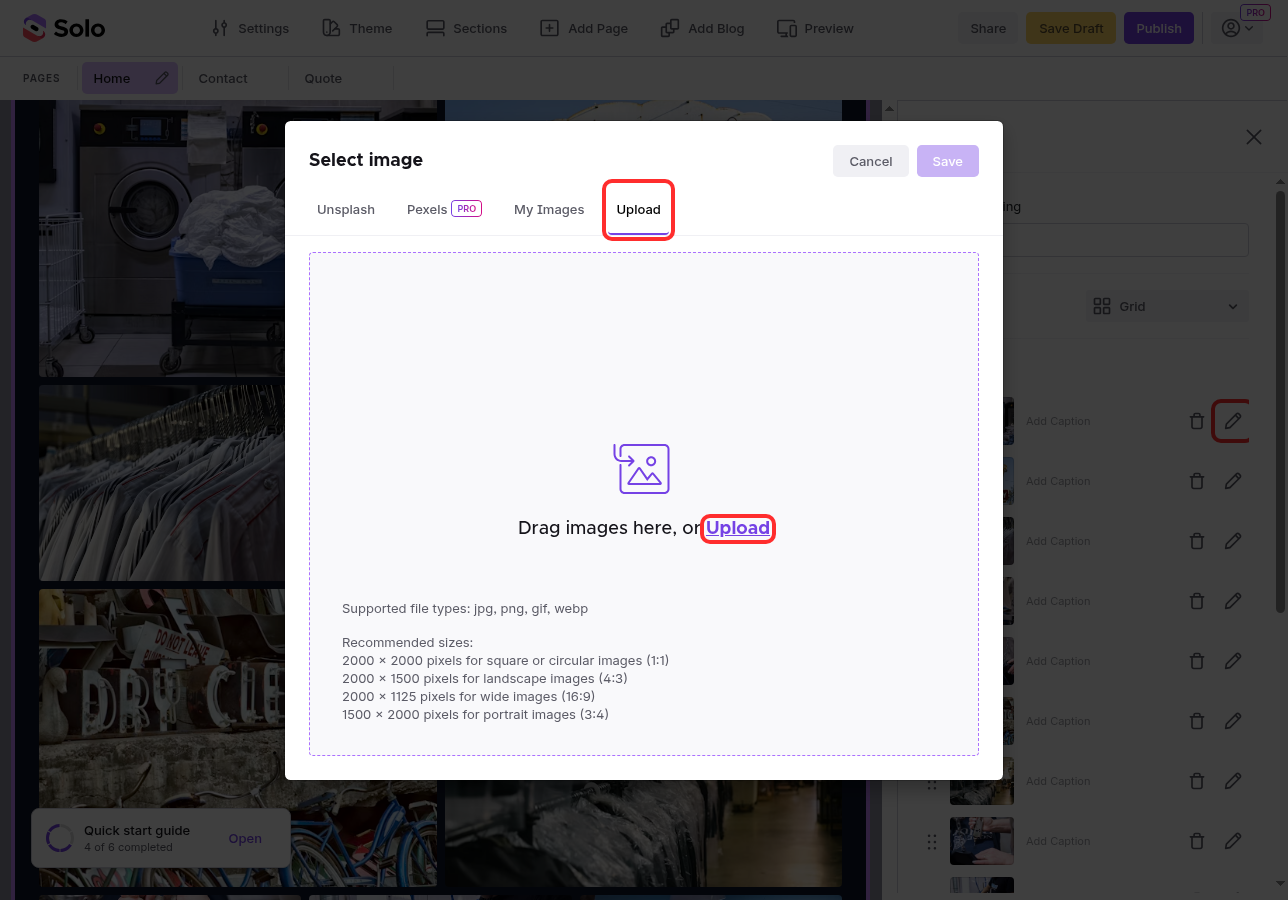
If you chose Upload, drag your image onto the drop zone or click Upload to browse your device.
-
Your changes save automatically.
To insert images inside an Article section, see how to add inline images and videos in articles.
Supported formats and sizes
Solo supports .jpg, .gif (including animated GIFs), .png, and .webp. For the recommended dimensions for each image shape, see what image size is recommended.
Related Articles
Still have a question? Post to our Reddit group or email the team.